

Organizing/Storing Art Supplies
When you like to make stuff and get creative you can wind up with quite the array of things to store. Here's how I organize my stuff using thrifted and handmade pieces to make it work.

I’m gonna be really honest with you…
I sort of loathe stores whose entire existence is to help you “organize your home” filled with what I consider to be mostly wildly unnecessary items. Don’t get me wrong, I like having a place for things. I don’t like a bunch of relatively generic, mass produced, plastic crap items to do it in.
Especially when there’s so much great stuff to be found at the thrift stores, vintage shops or on Etsy that will do the job just as well and likely serve multiple uses through it’s lifetime.
Let’s face it, your thrifted item will probably
do an even better job
cost less…
have a much smaller impact on the environment
give you a chance to get creative in finding a solution (which is good for your brain)
be better made
and offer an opportunity to solve other issues for storage or organizing as your home evolves…
Oh,
and it will probably have a little more personality to boot…
So, for those who don’t know I’m a mixed media artist and a Mom of two young(ish) kids. Storing supplies and keeping things accessible but not a total disaster is a pretty high priority here in our household. At the end of the day after it looks like a tornado has perhaps gone through the house, it’s quite a treat to be able to take 5-10 minutes to get everything back in it’s place.
Here’s what I use:
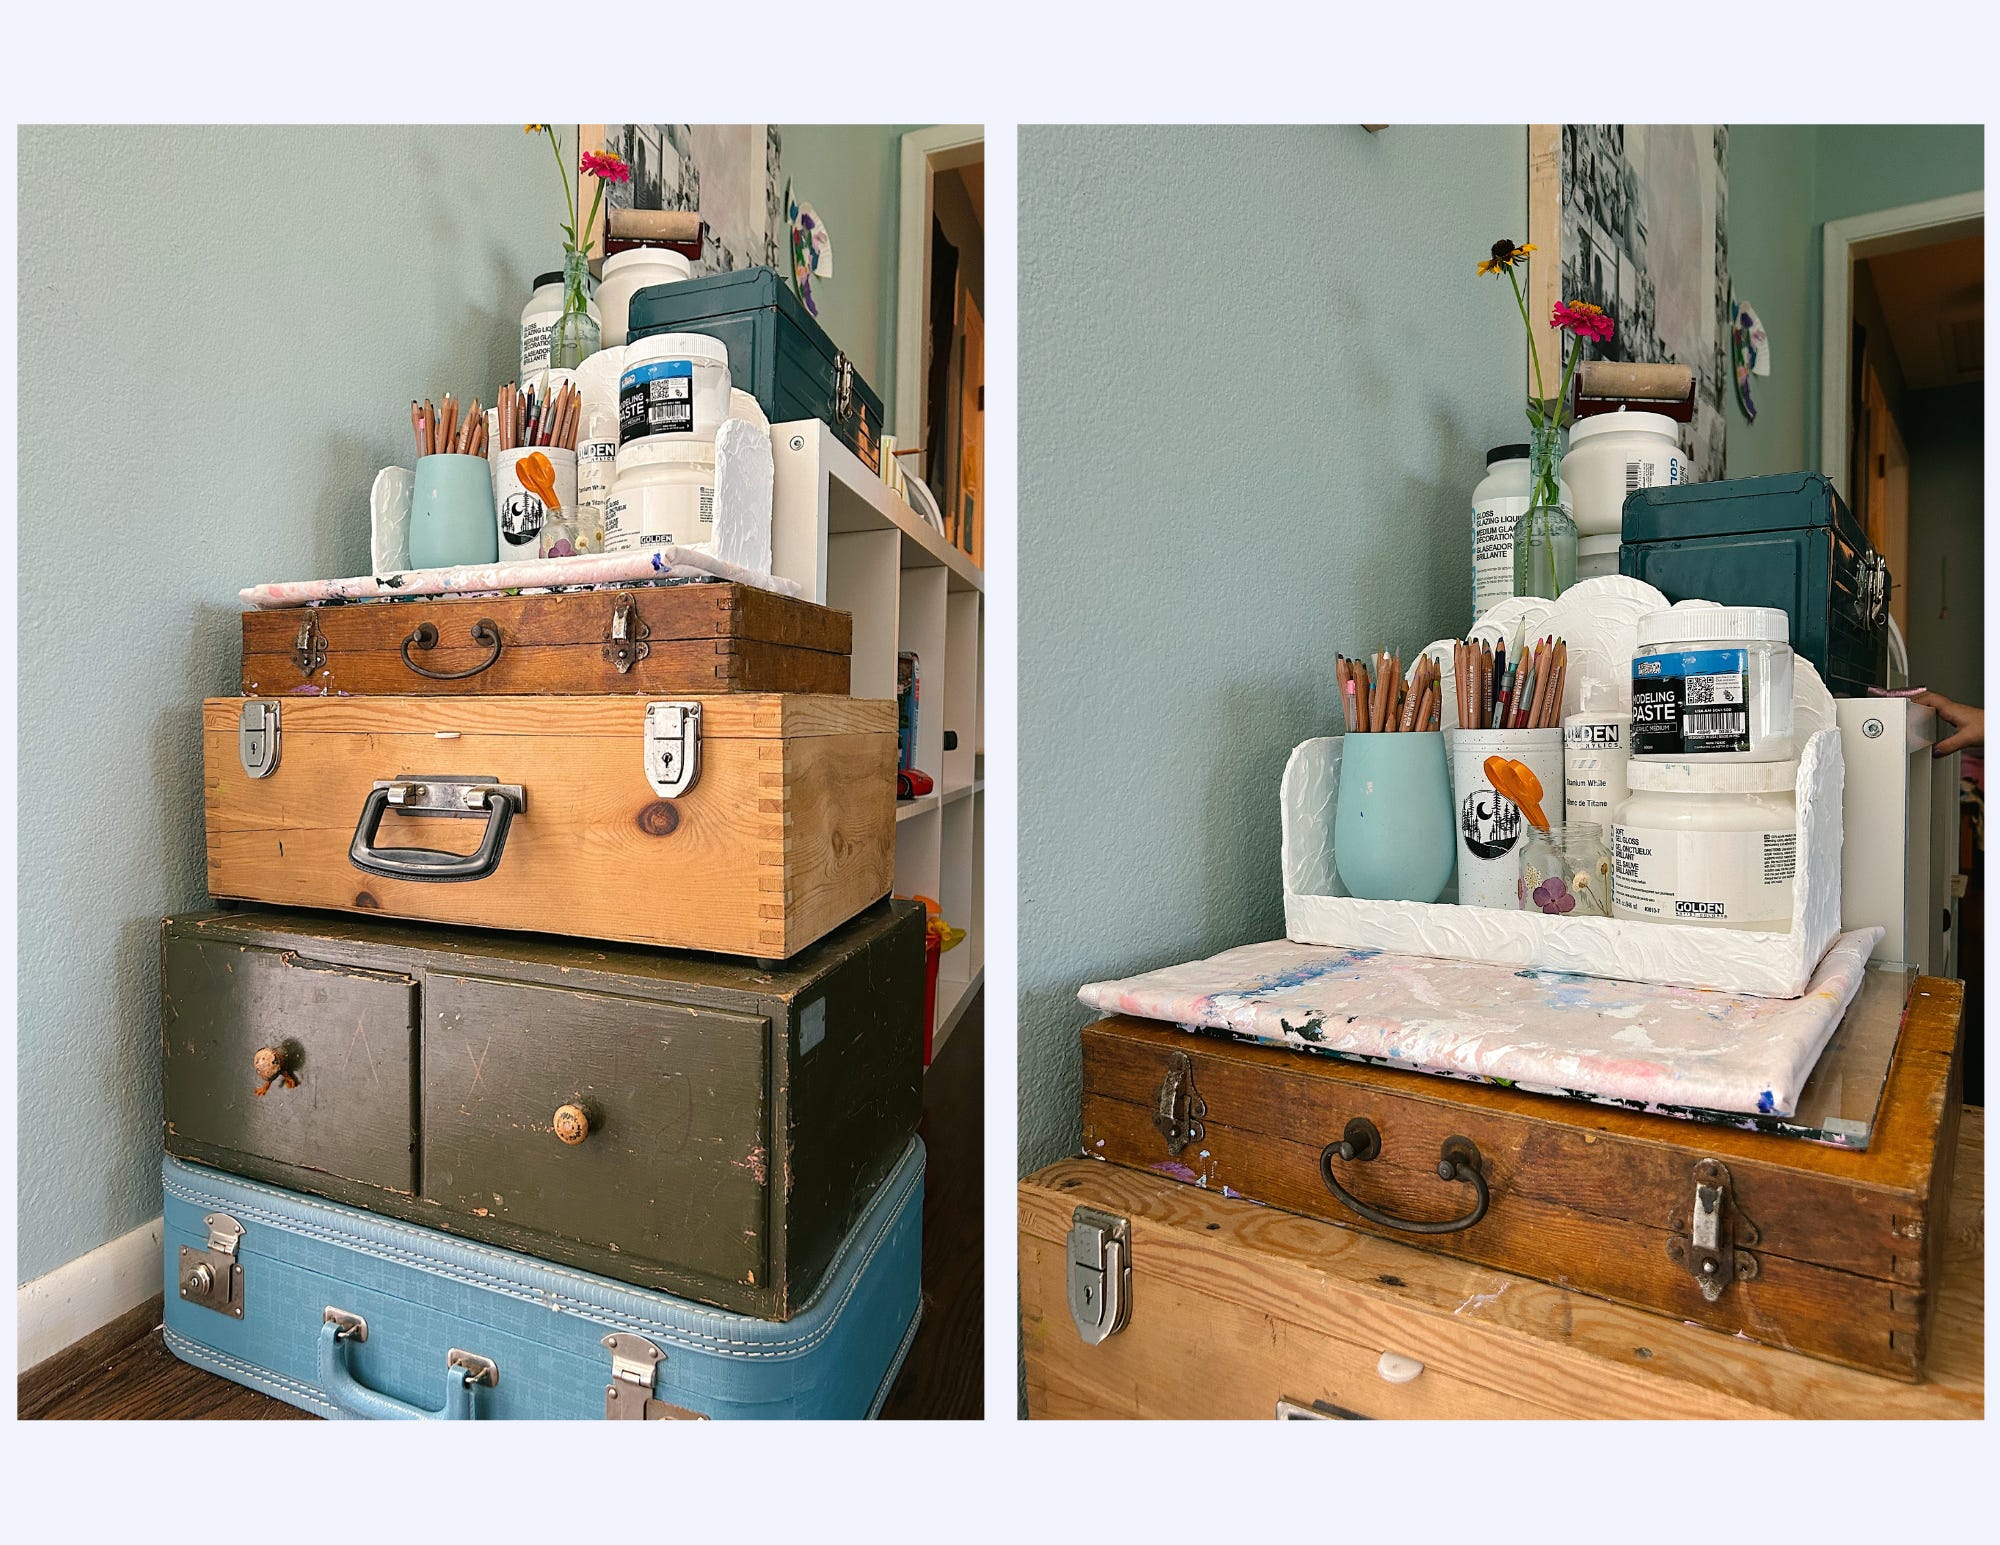
This is where the bulk of my main supplies land. It sits right next to the kids toy shelf and conceals an array of supplies.
From top to bottom:
The top shelf is made from some cardboard boxes I repurposed. It holds two cups filled with pencils and a bottle of paint that it too tall for the drawer it should be in.
There’s a little baby food jar my kids covered in dried flowers that holds scissors and then some gel medium and molding paste. The shelf is sturdy enough to be moved when I need to get to other stuff.
Below that is the same piece of cotton I’ve been using to cover my workspace for years and my glass palette that’s been scraped and reused a billion times (no really, a billion, and I share it with my kids too, so maybe more).
The first wooden case stores paintbrushes, some for me, some I share with the kids, some for house painting.
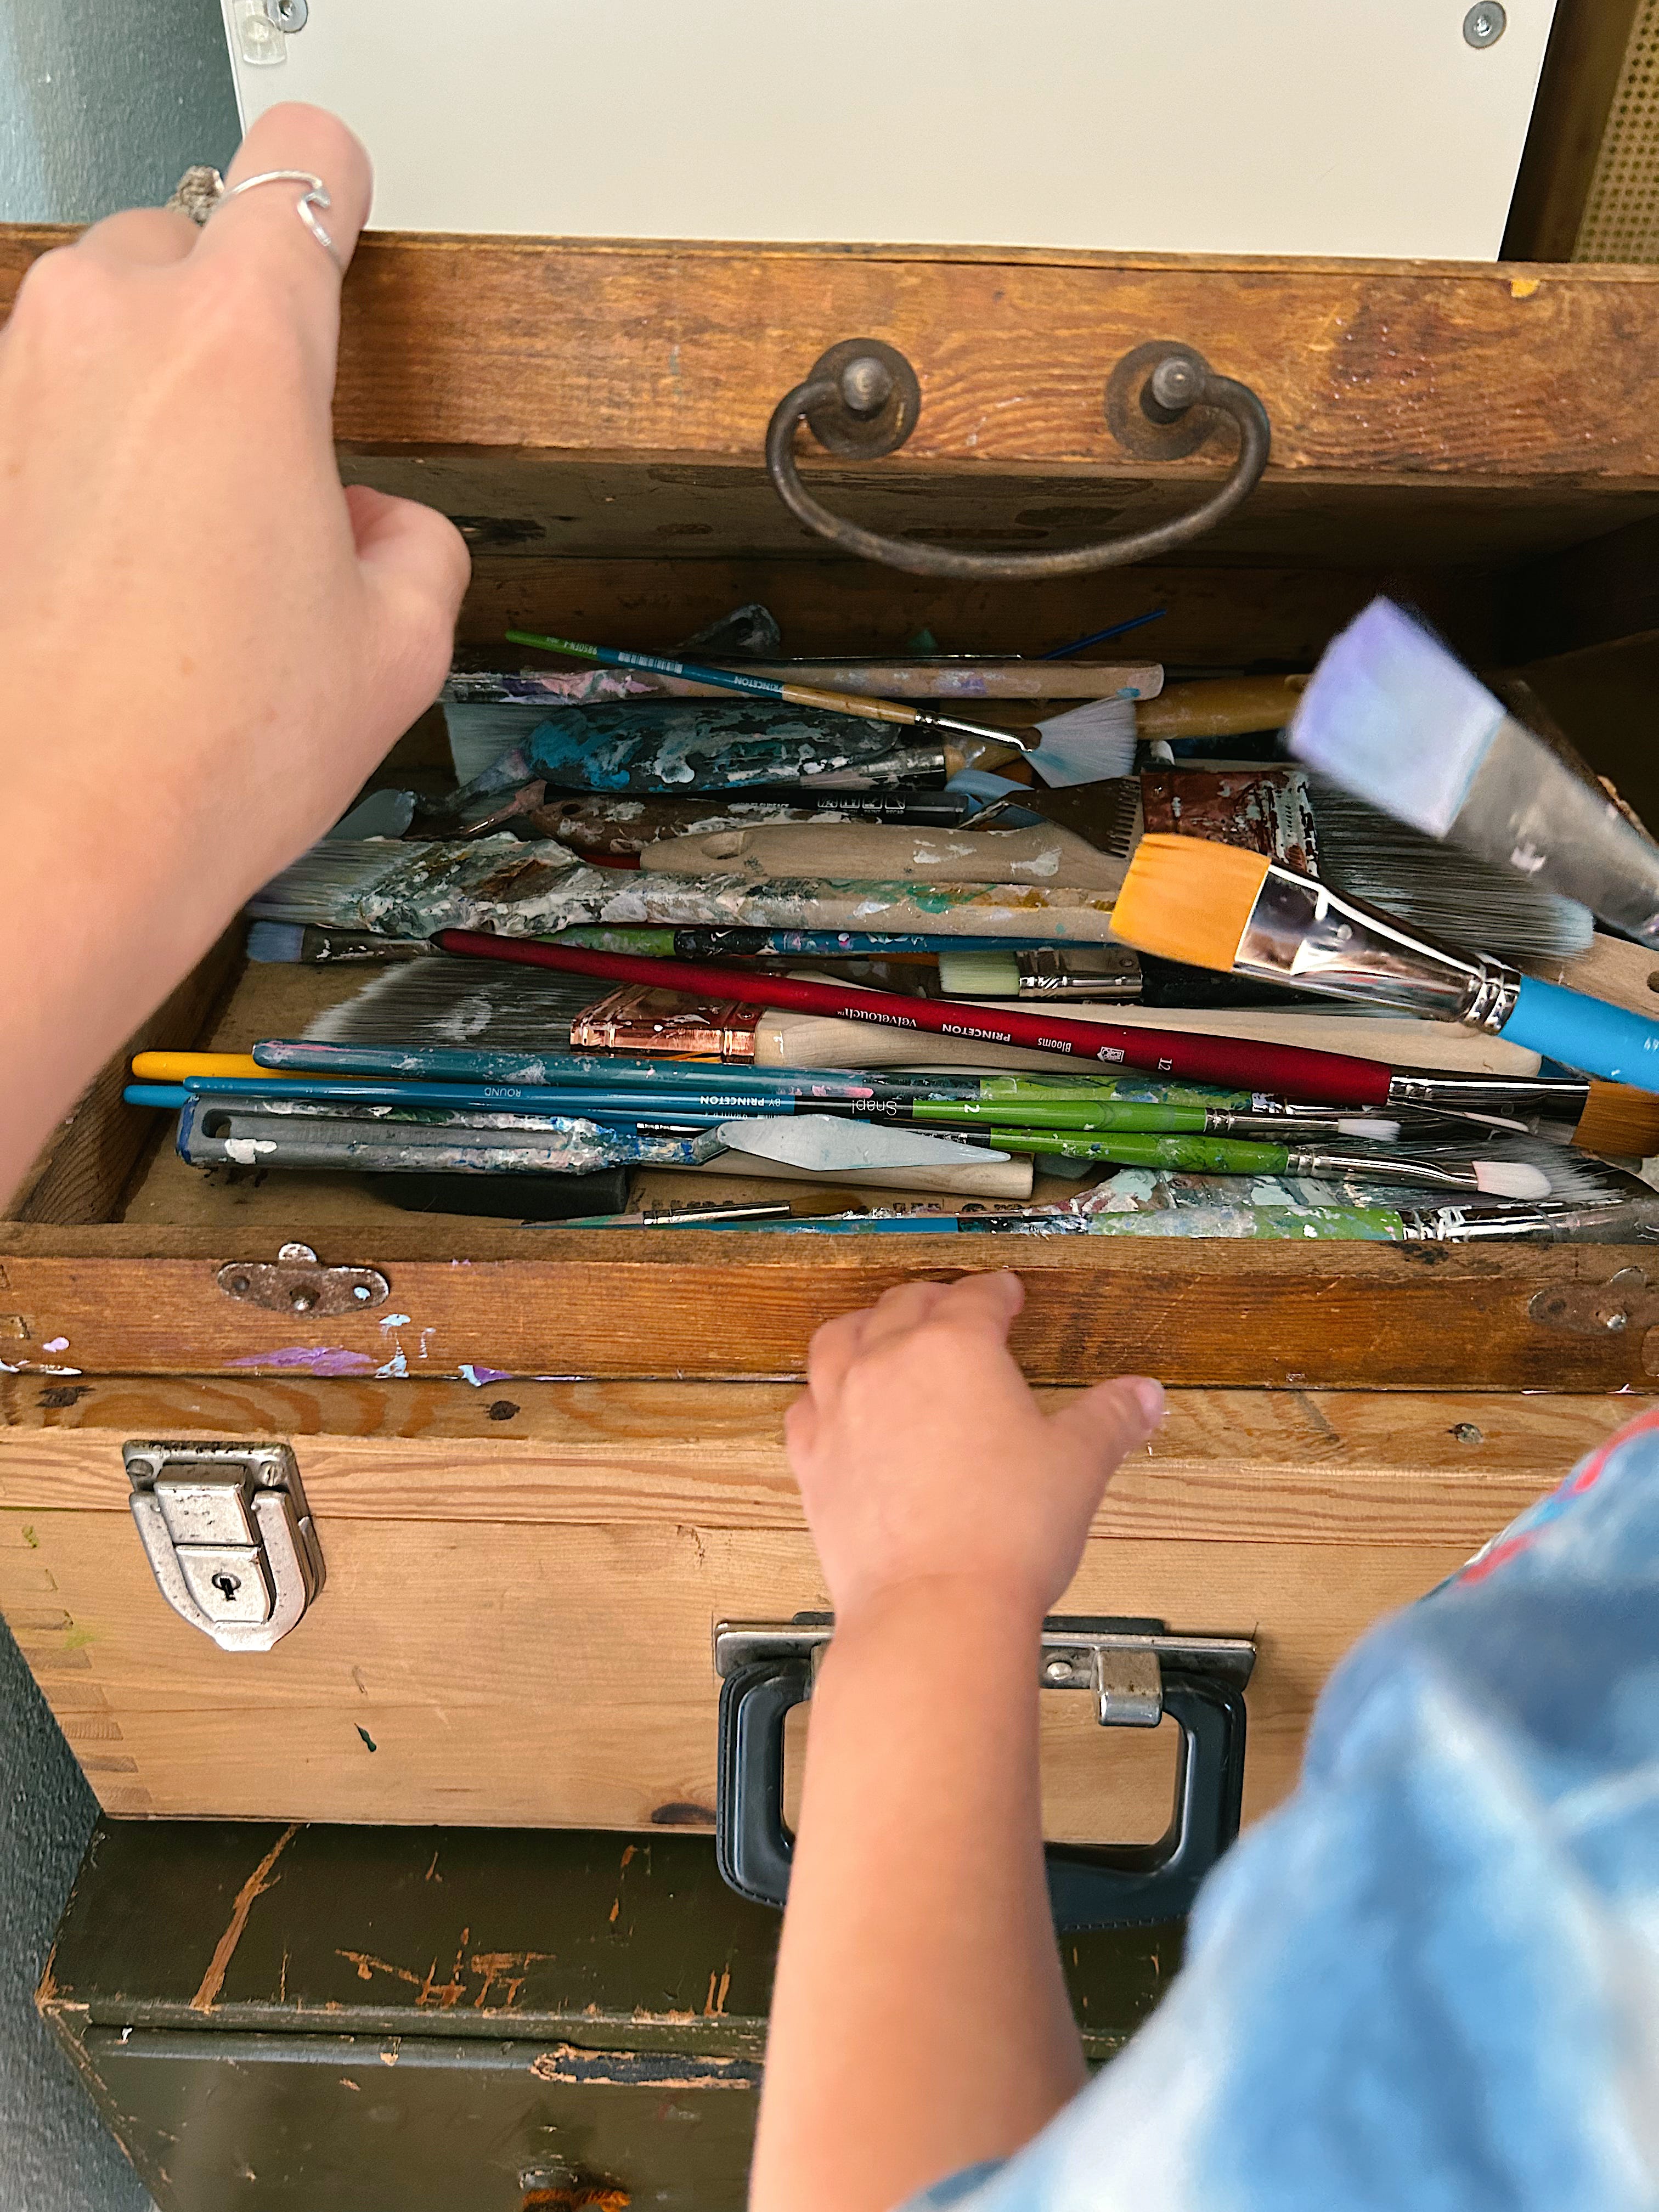
The next wooden one down stores kids craft supplies and is regularly used to weigh down things being glued together.
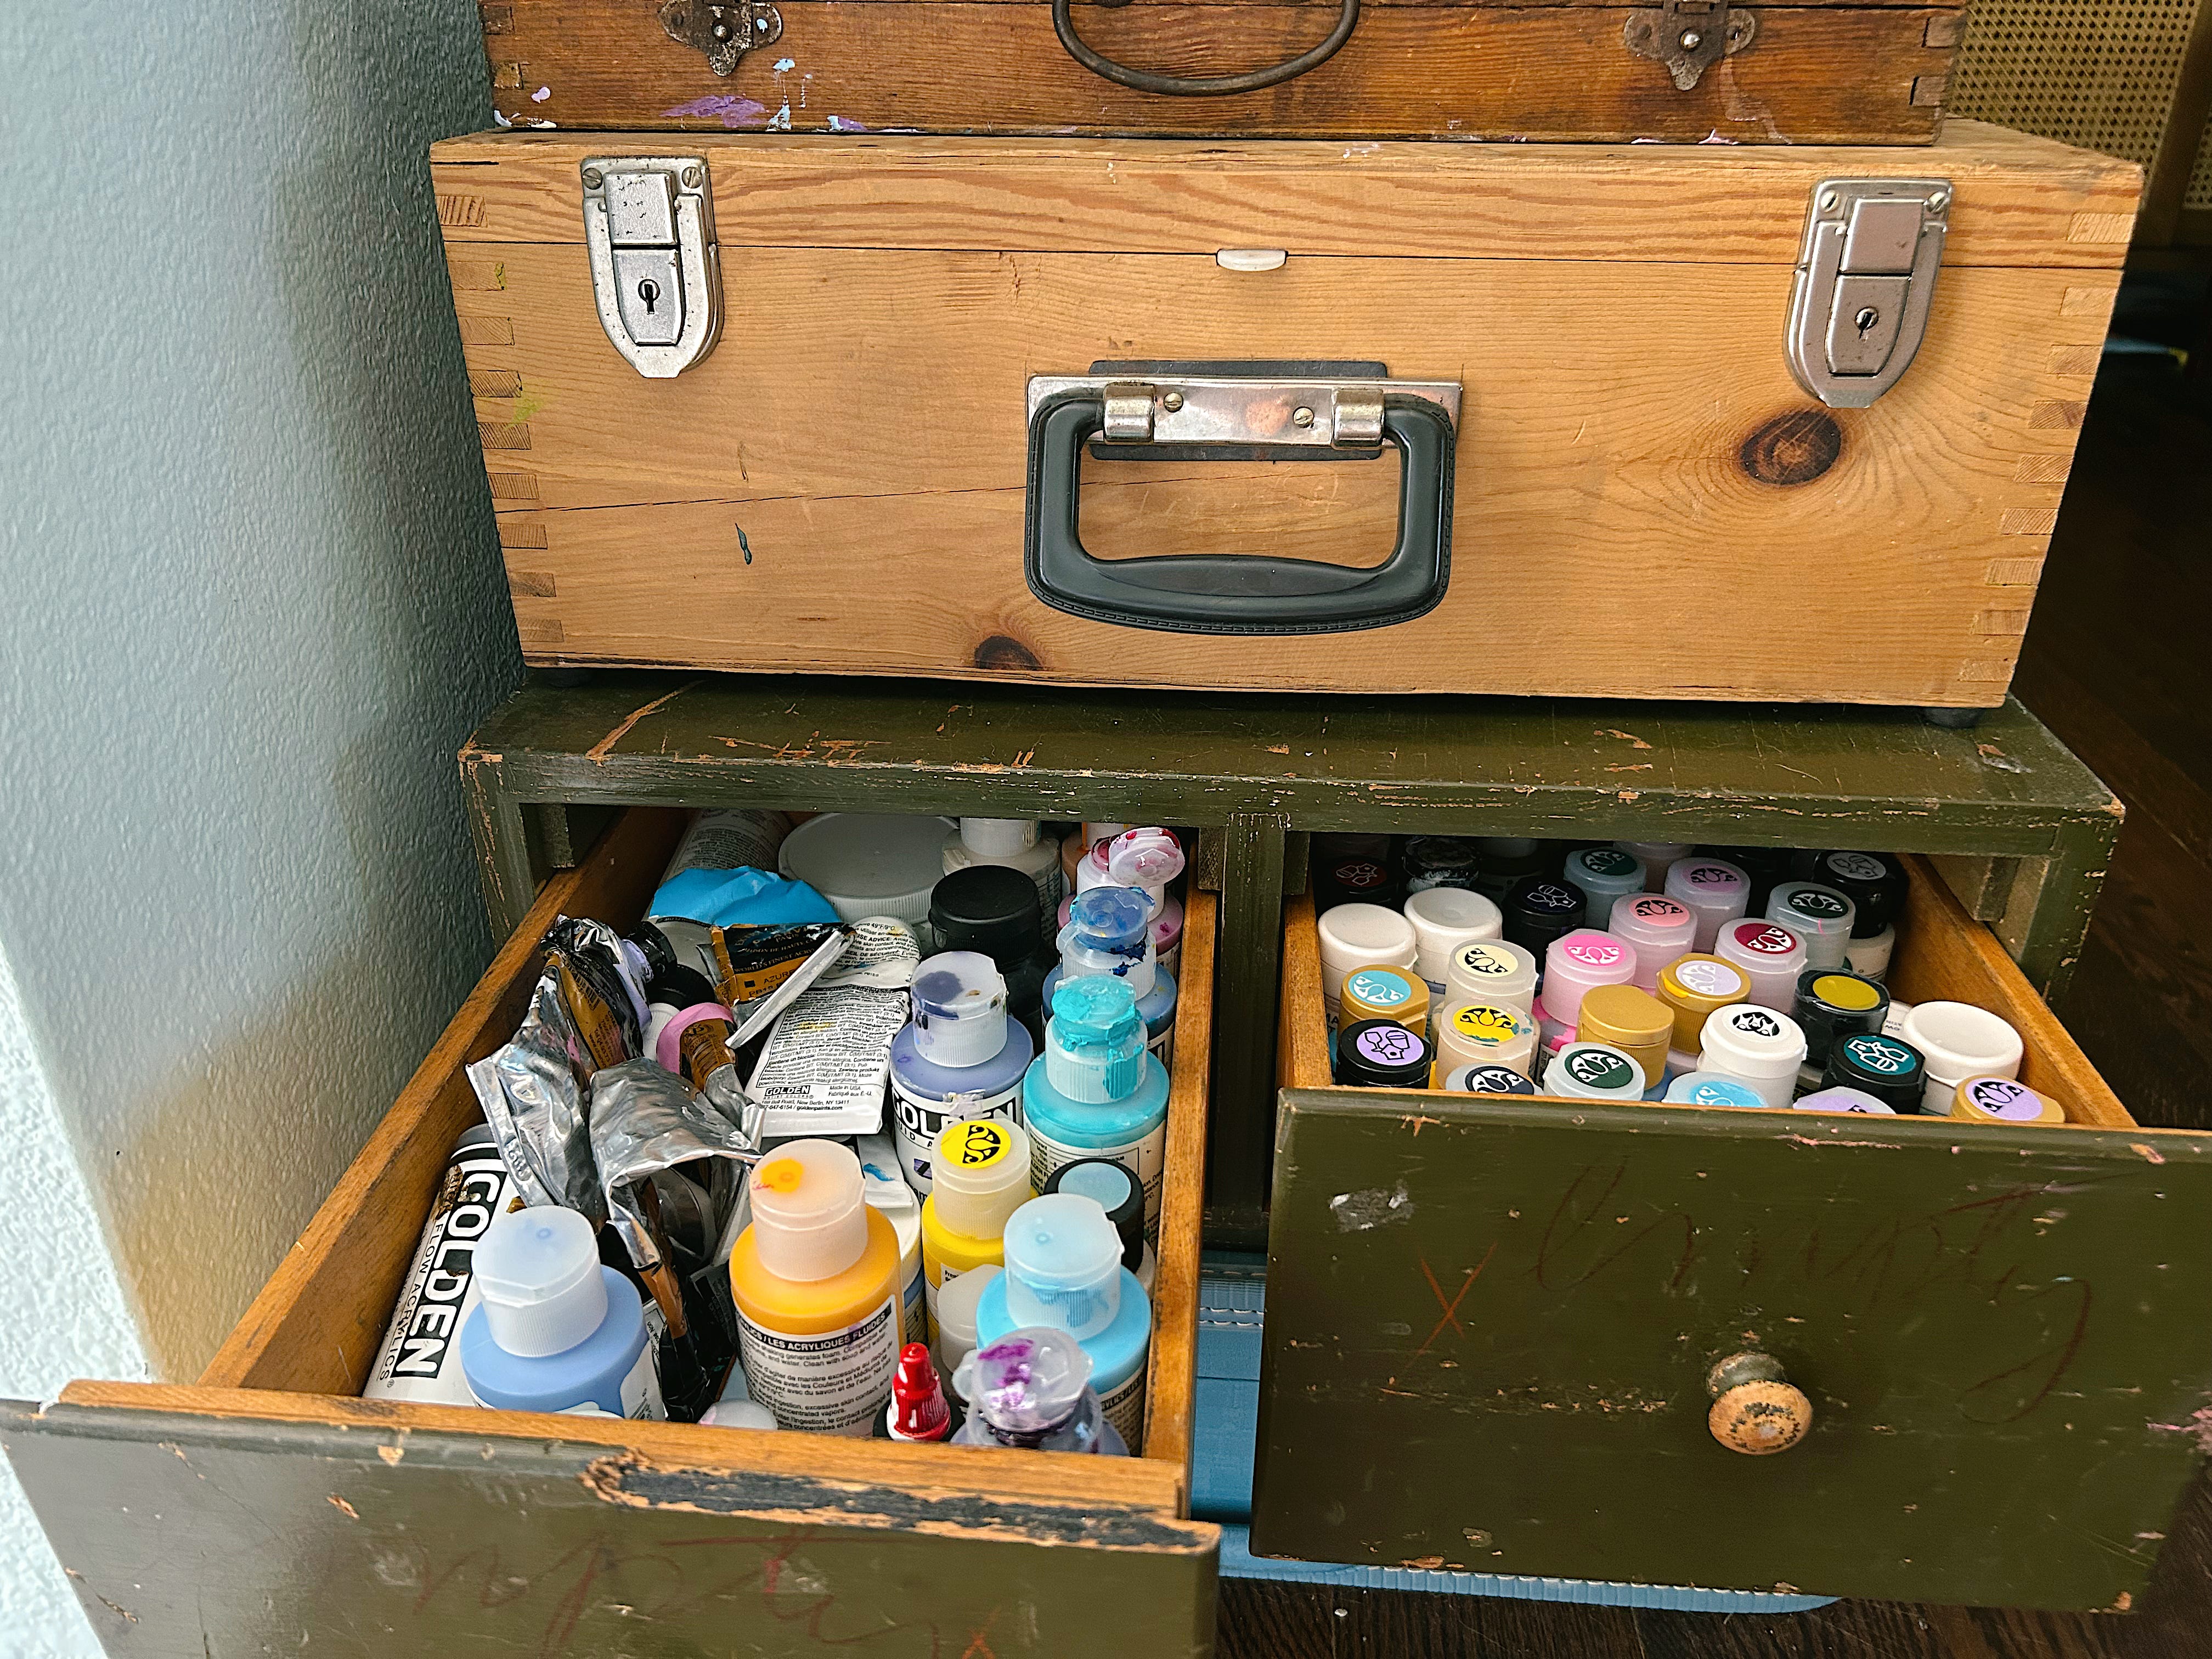
The green set of drawers stores all almost all of our paint. Mine is on the left, kids is on the right.
and finally that blue suitcase houses extra watercolor paper, pads of other paper and stuff like that.
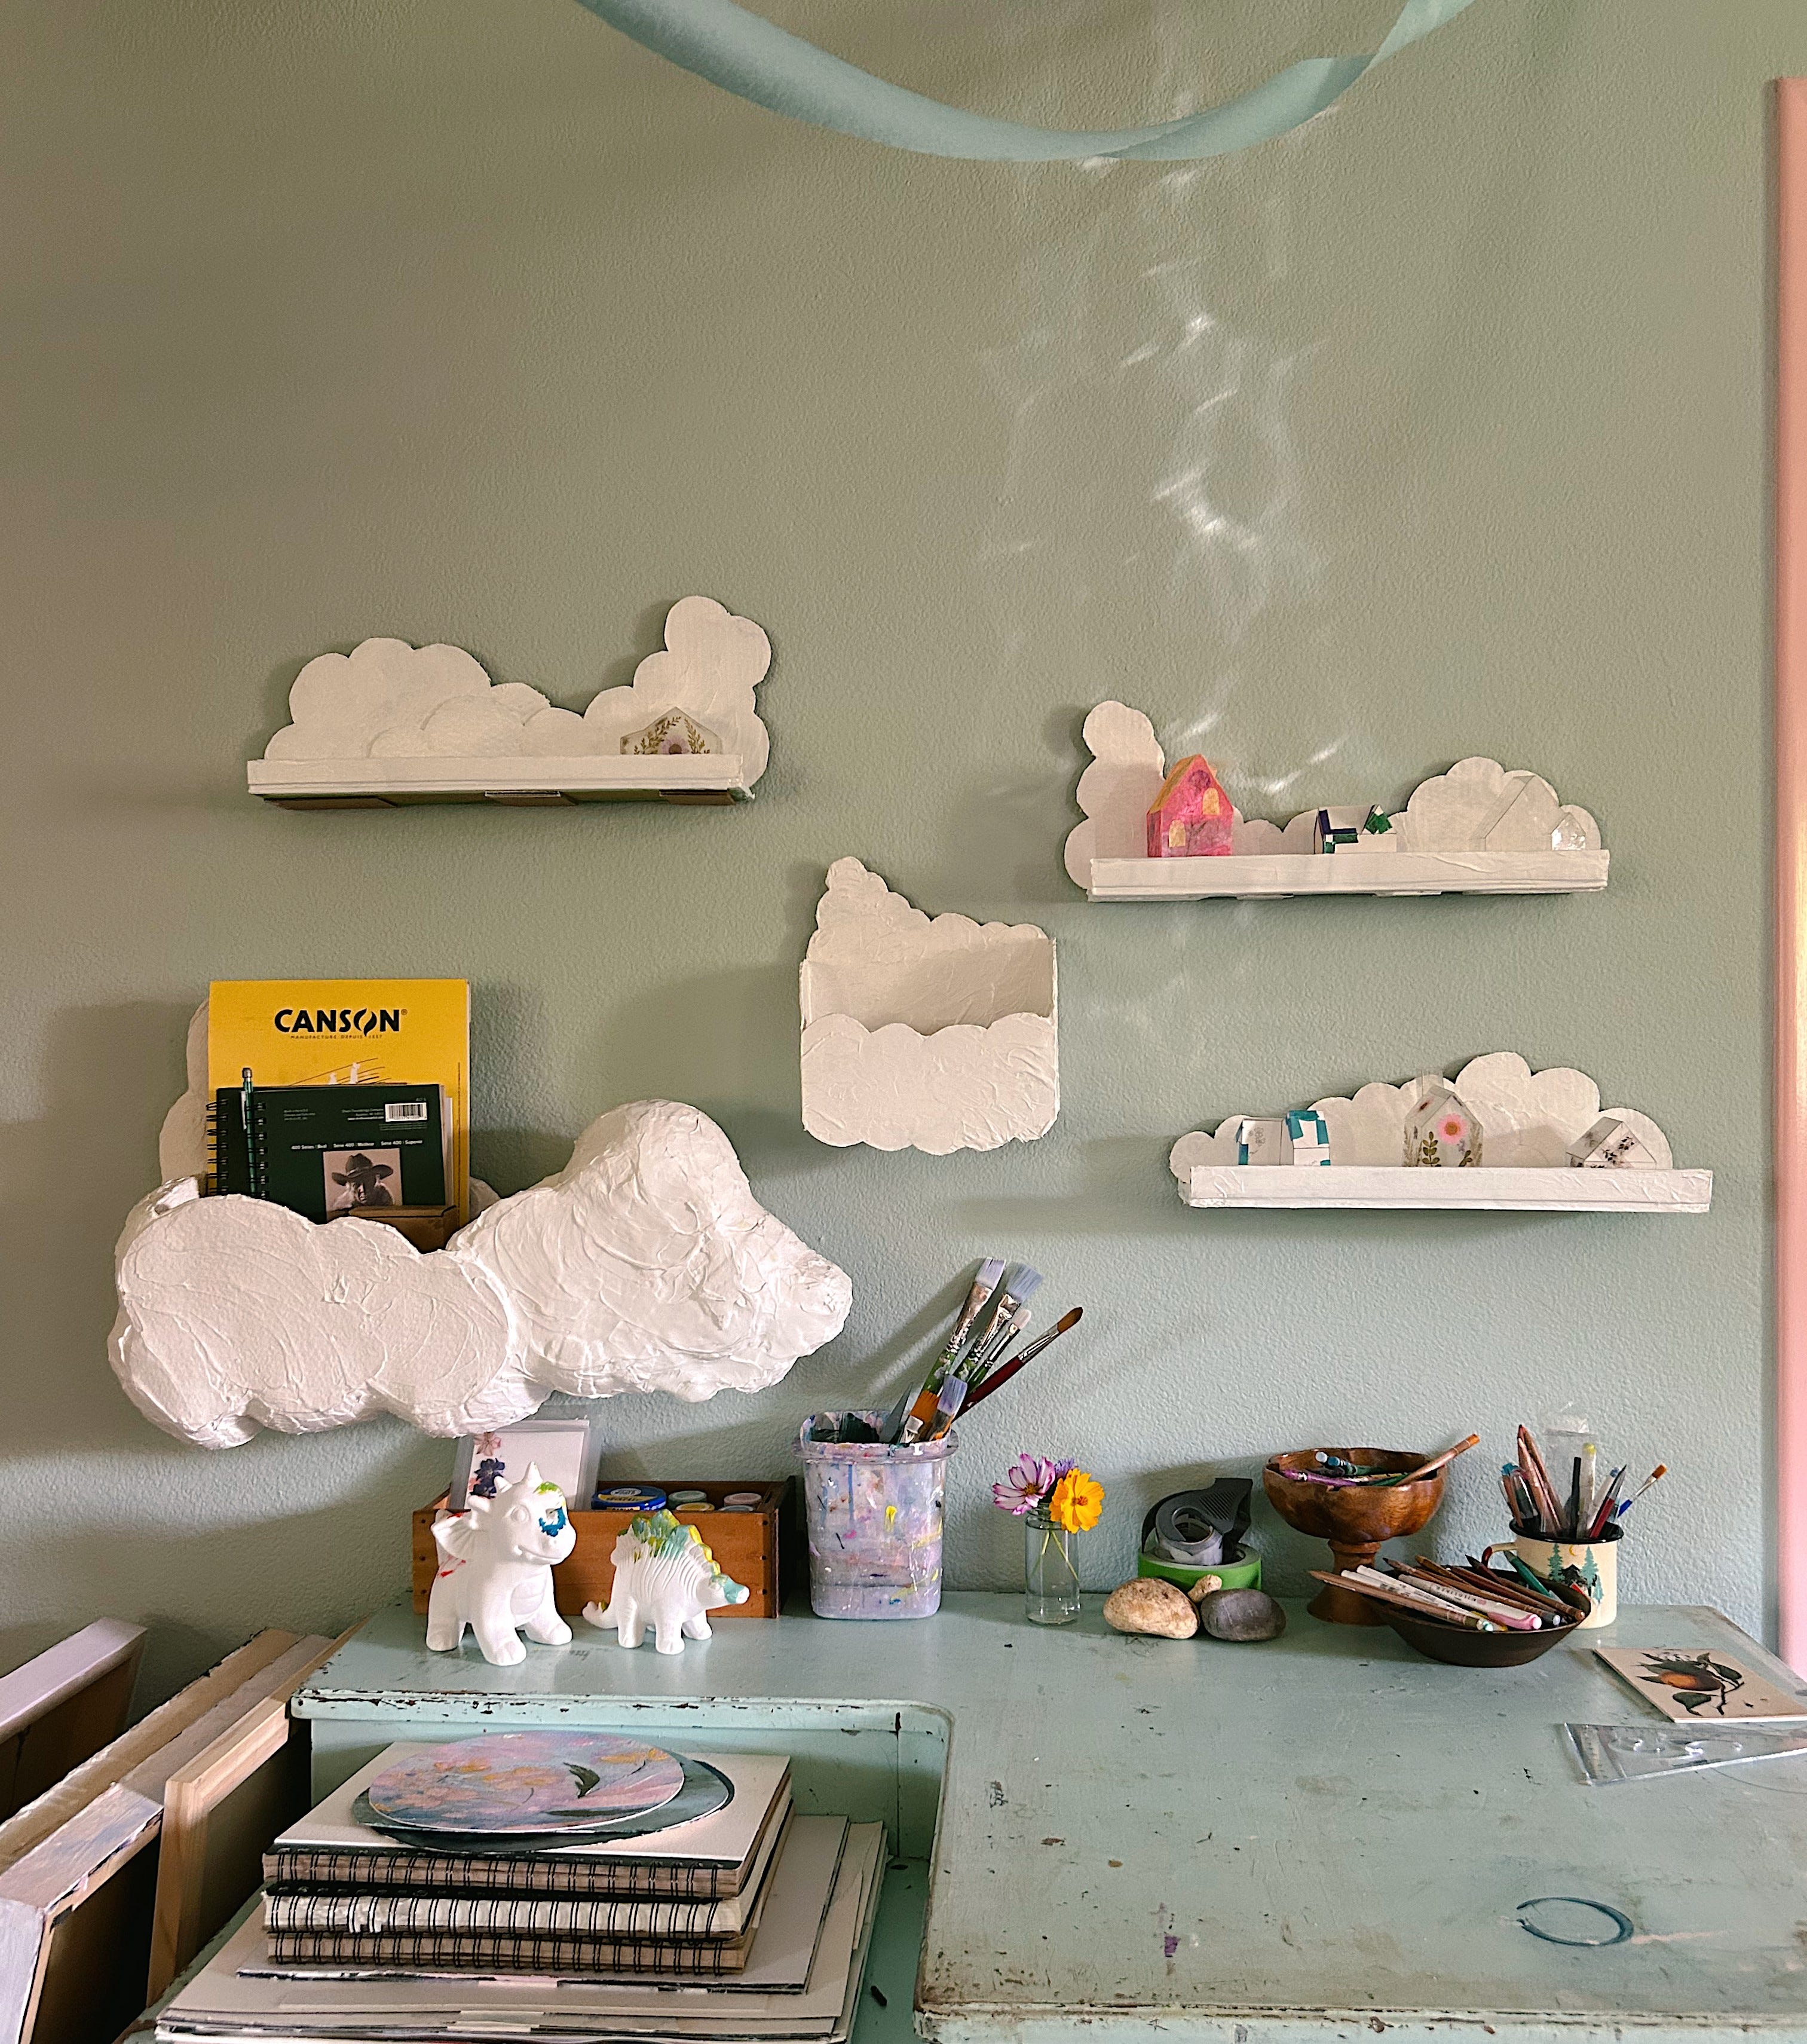
The other half of my supplies is anchored by this old desk I got from River Market Antiques. The three little flat shelves are made from cardboard with the sole purpose of storing little house templates, little plastic houses in progress and little completed houses waiting for their forever homes in my work. The shelf in the middle (also made from cardboard) is currently storing clouds also waiting to be placed in new work.
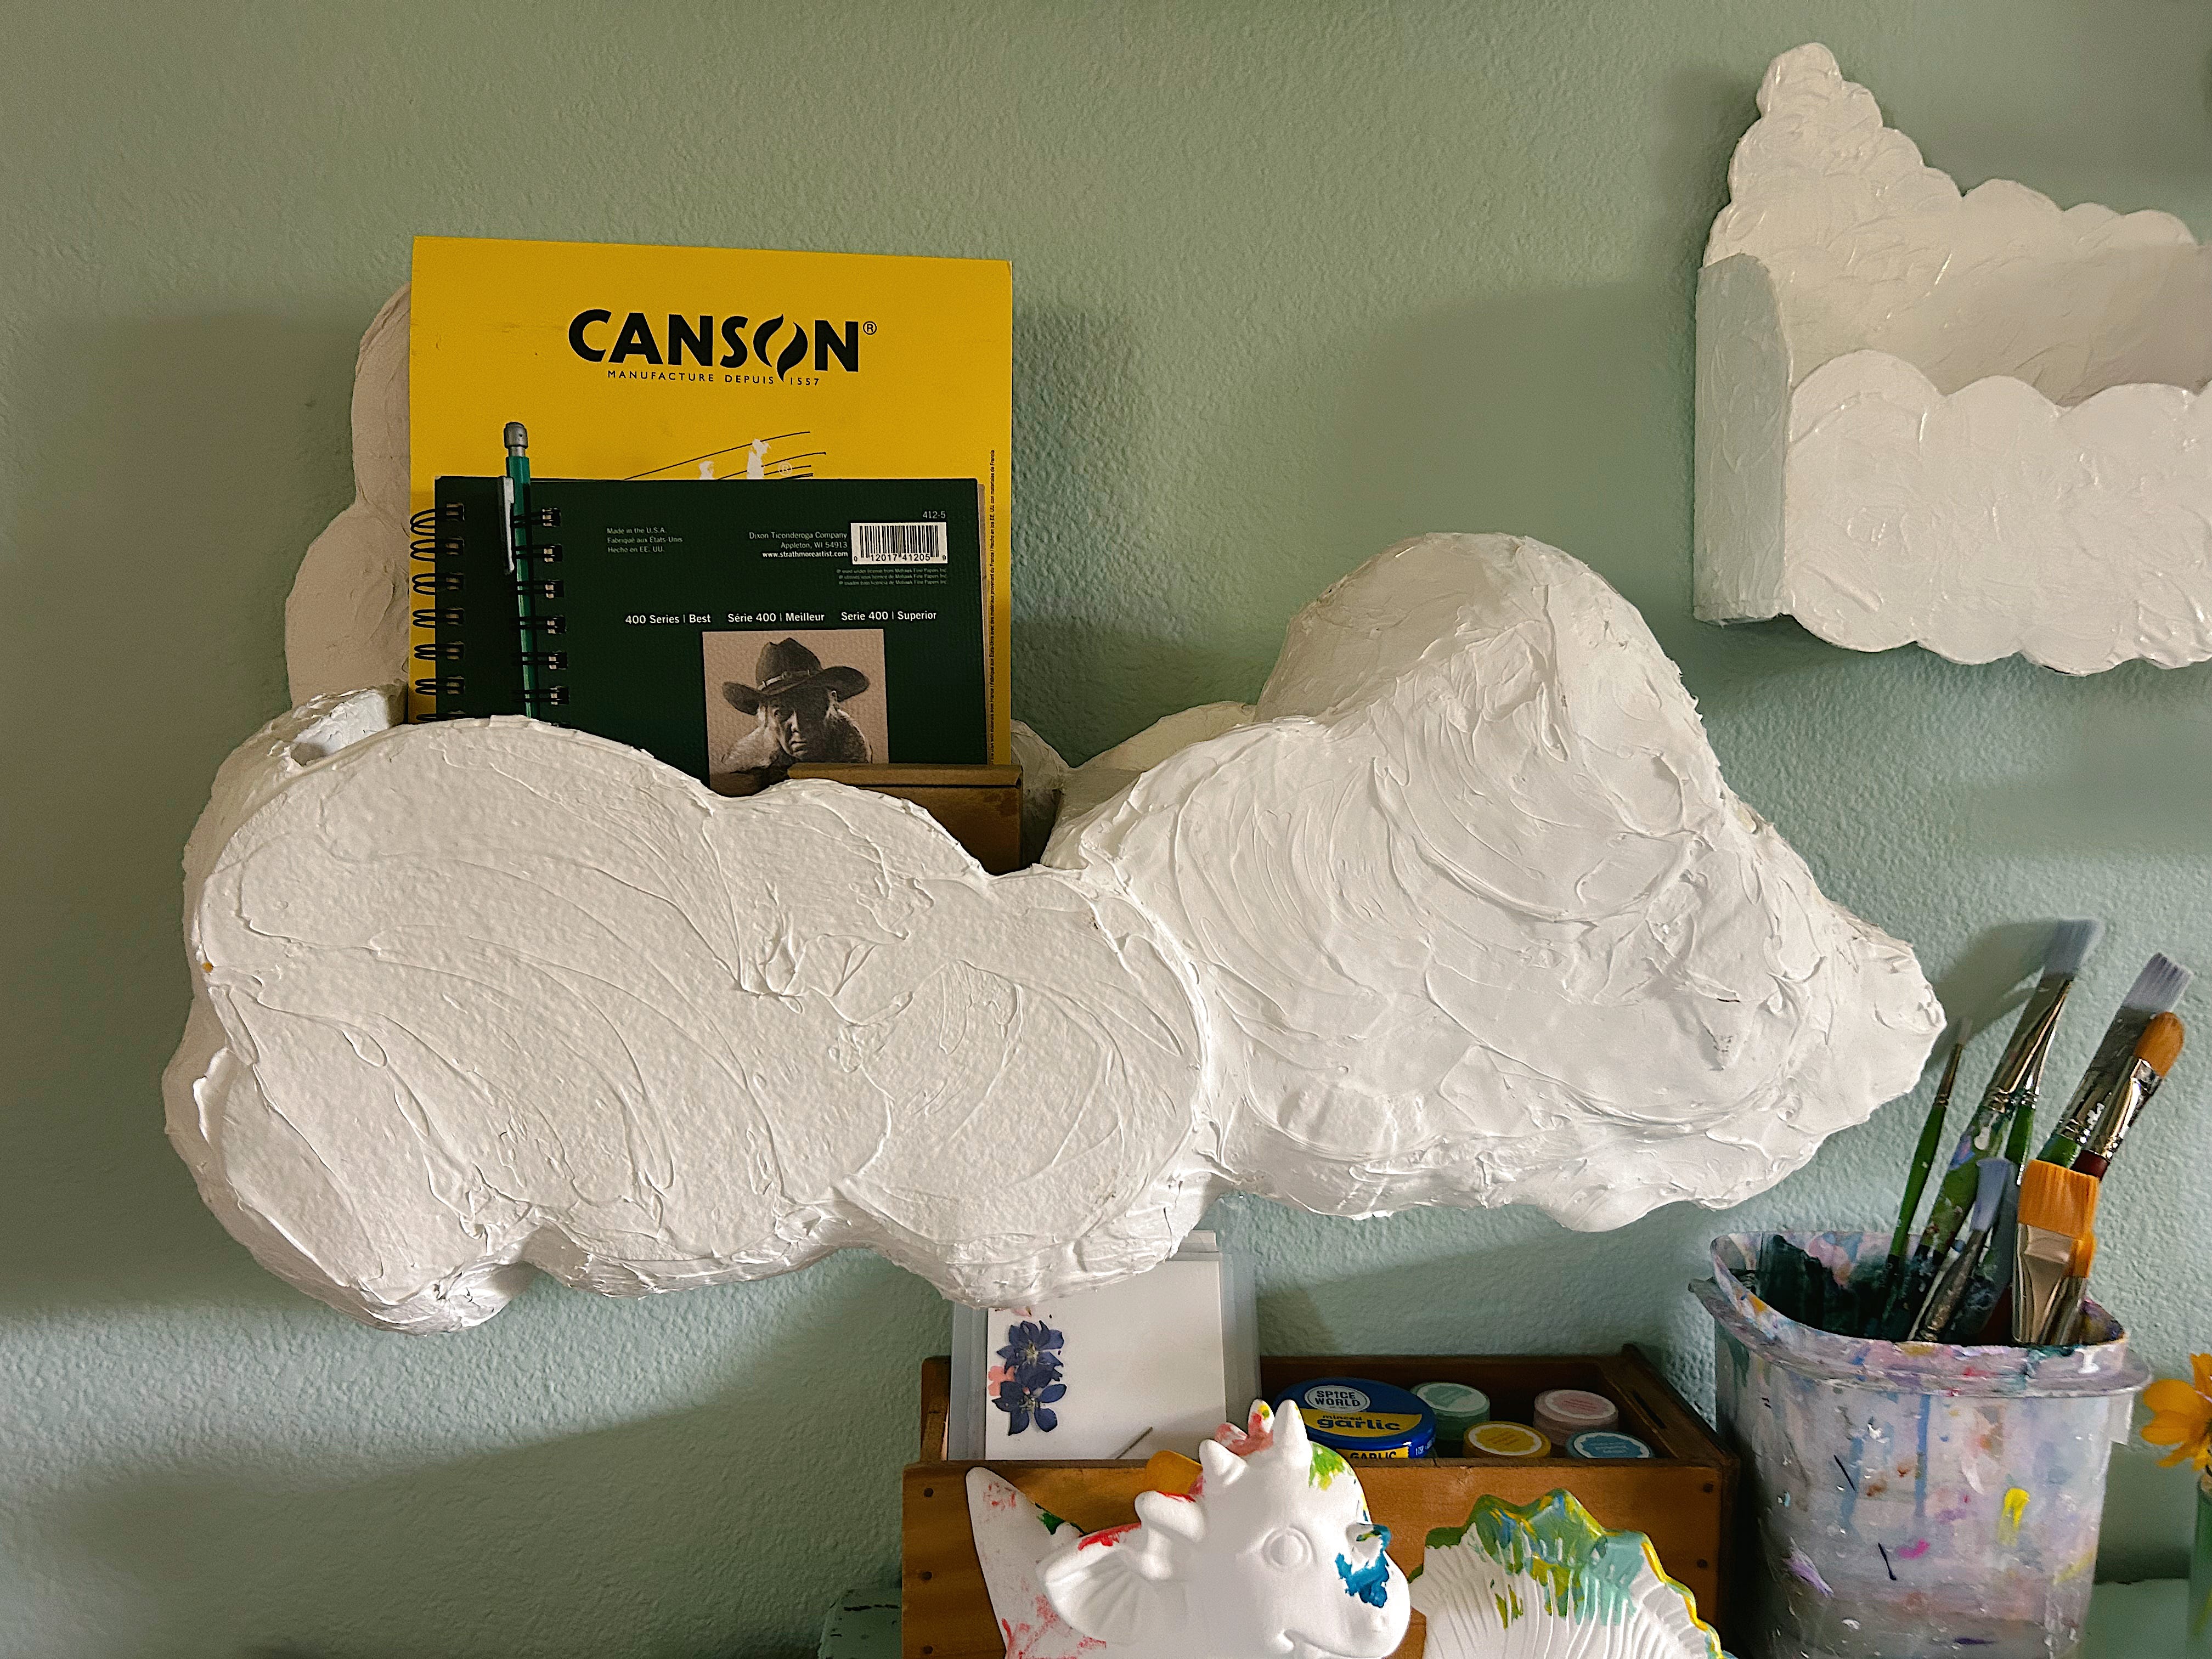
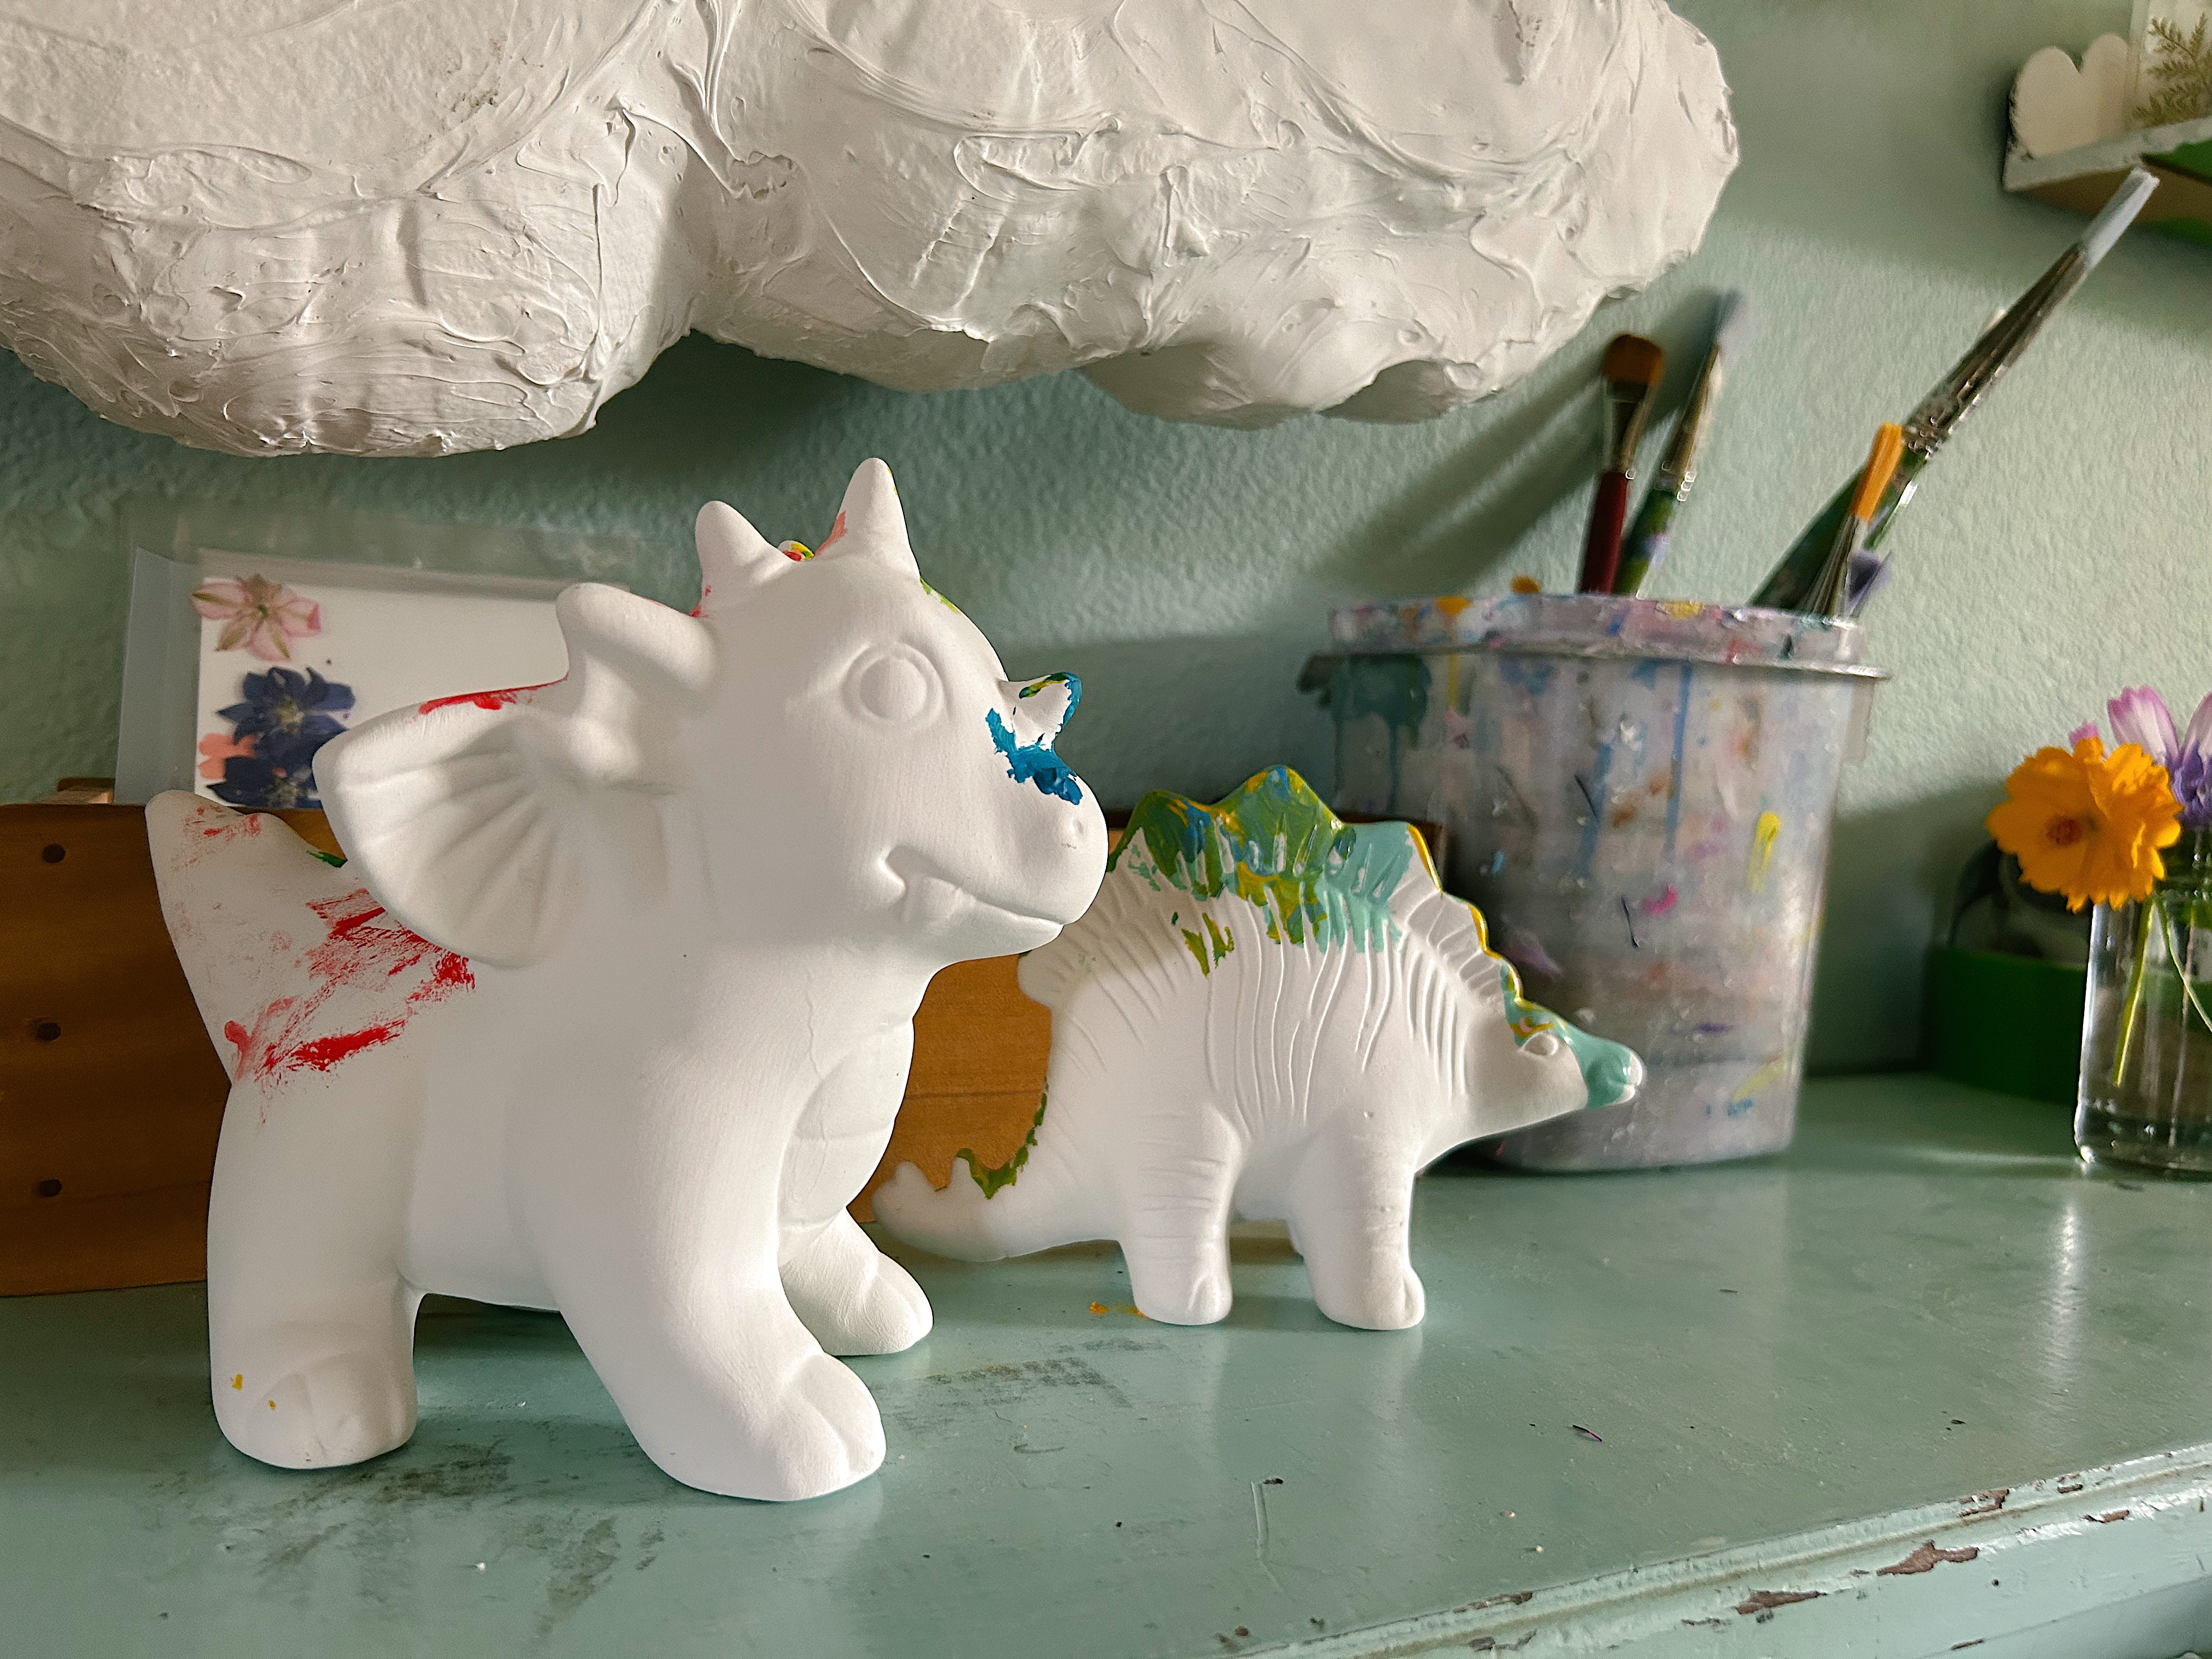
This giant cloud shelf is made from repurposed cardboard boxes (it’s a growing theme eh). It’s currently housing my sketchbooks and stuff but it’s also stored kids books.
Below it (tucked behind the half painted dino’s) sits a sewing drawer I picked up for next to nothing that’s currently storing dried flowers and some paint but it’s been used to hold flower and veggie seeds, scrap papers and storing cups of pencils and things also.
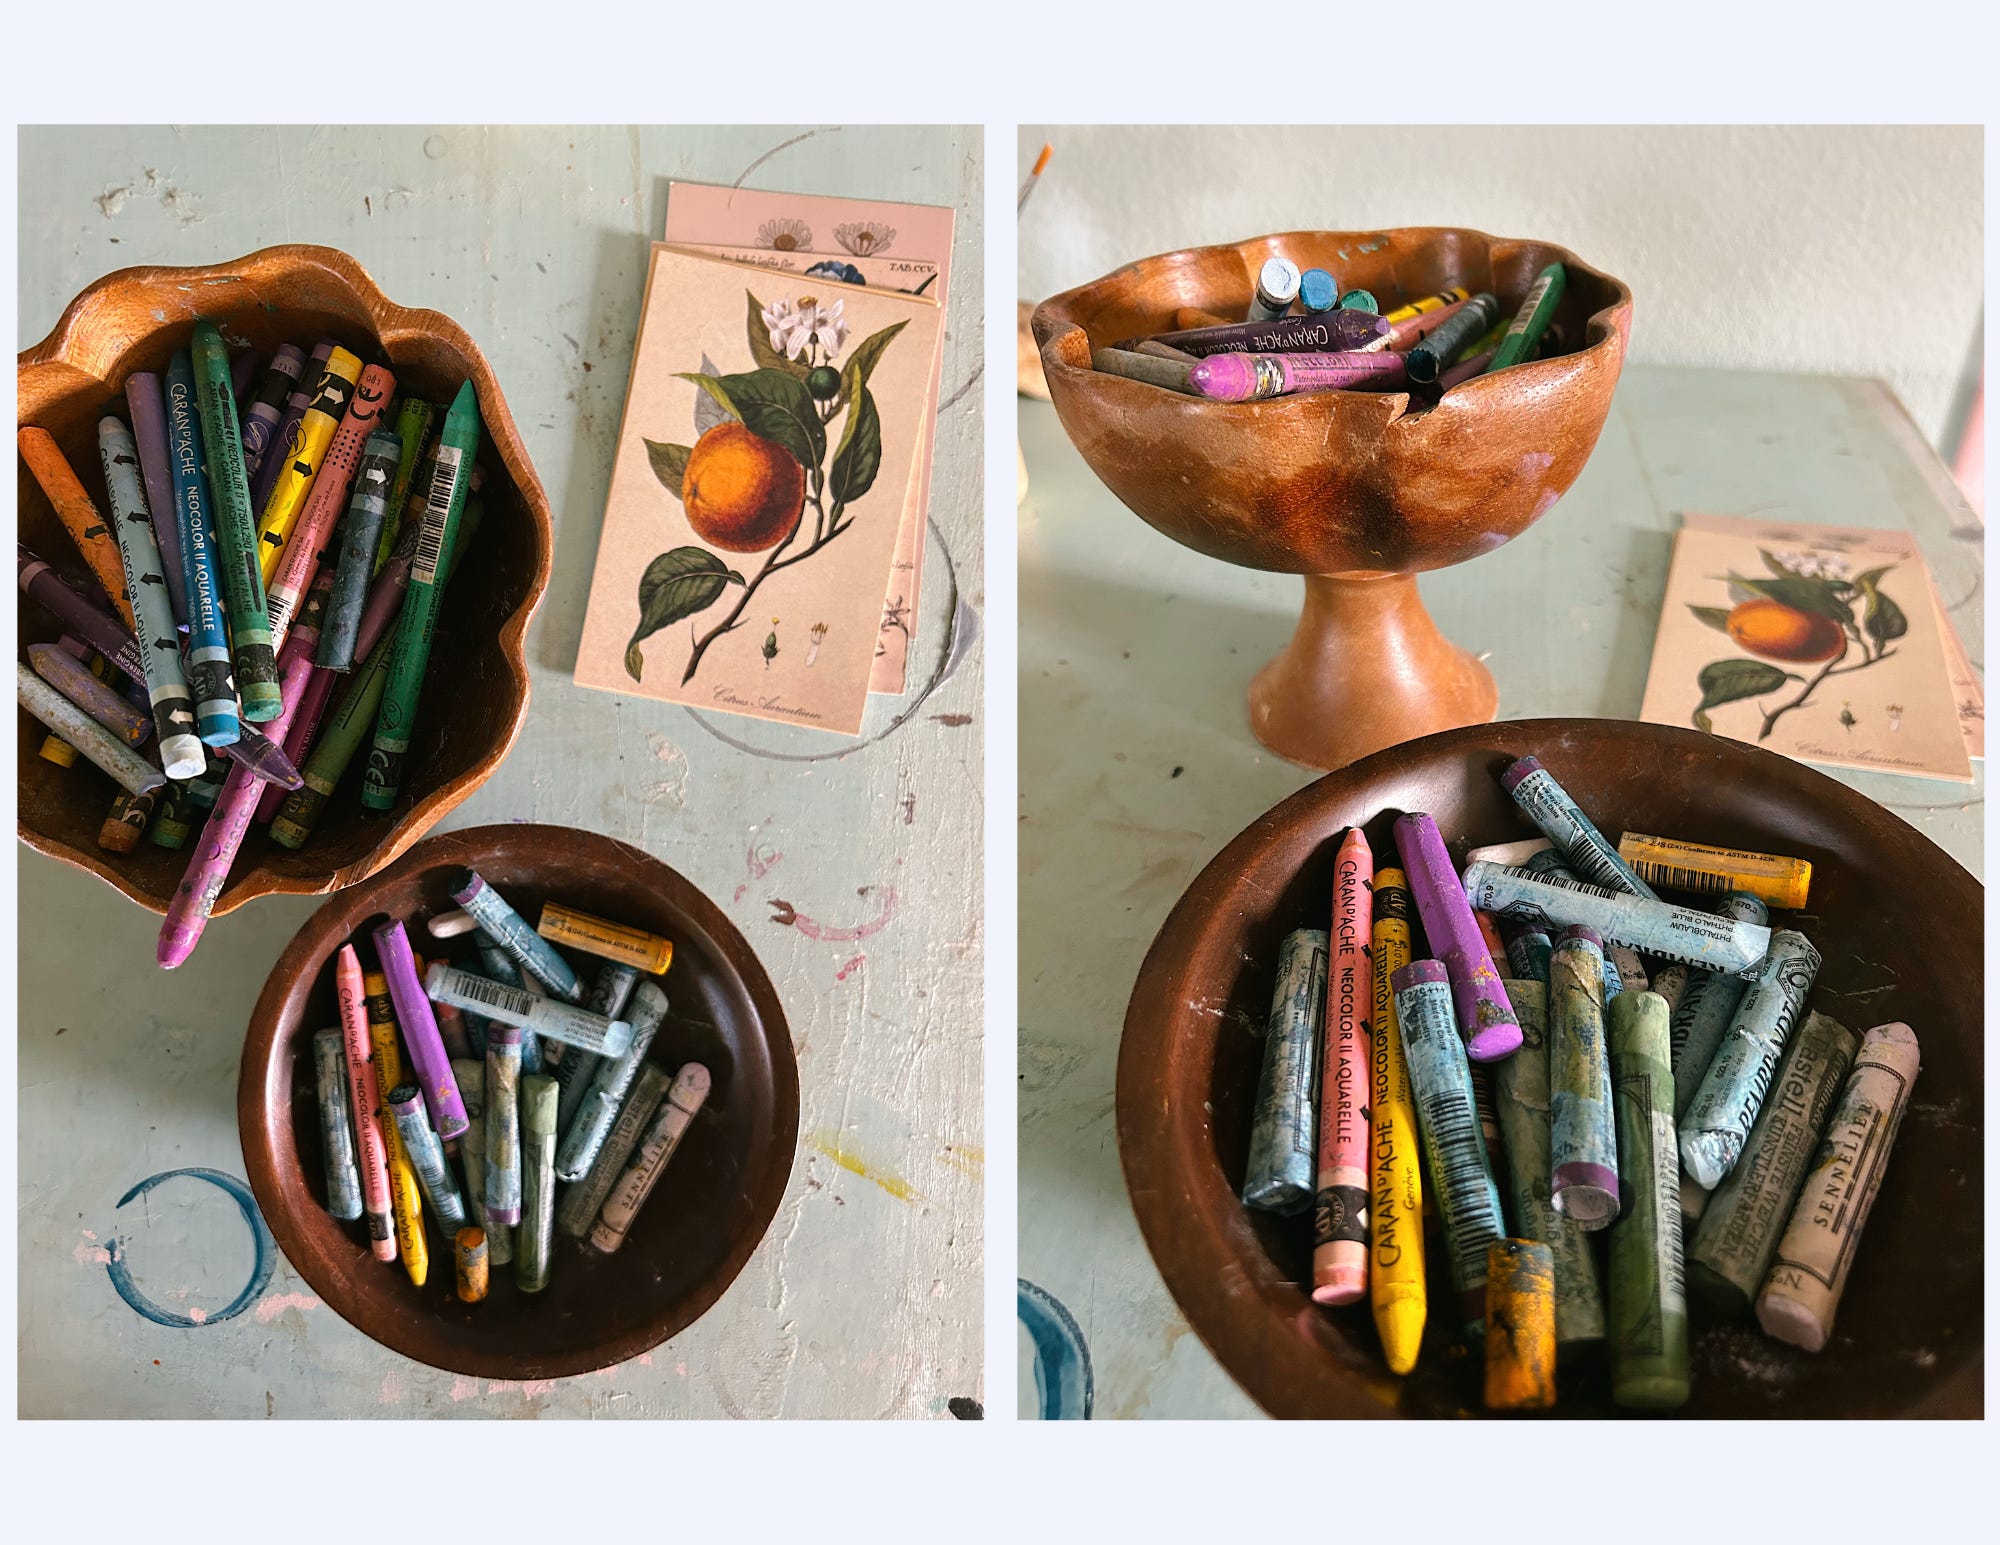
Wooden bowls are a go to for us, they serve as a great place to hold pastels, Neocolors, crayons, charcoal and in a pinch, make a perfect place to collect flower petals and leaves when kids are cooking their own magical concoctions.
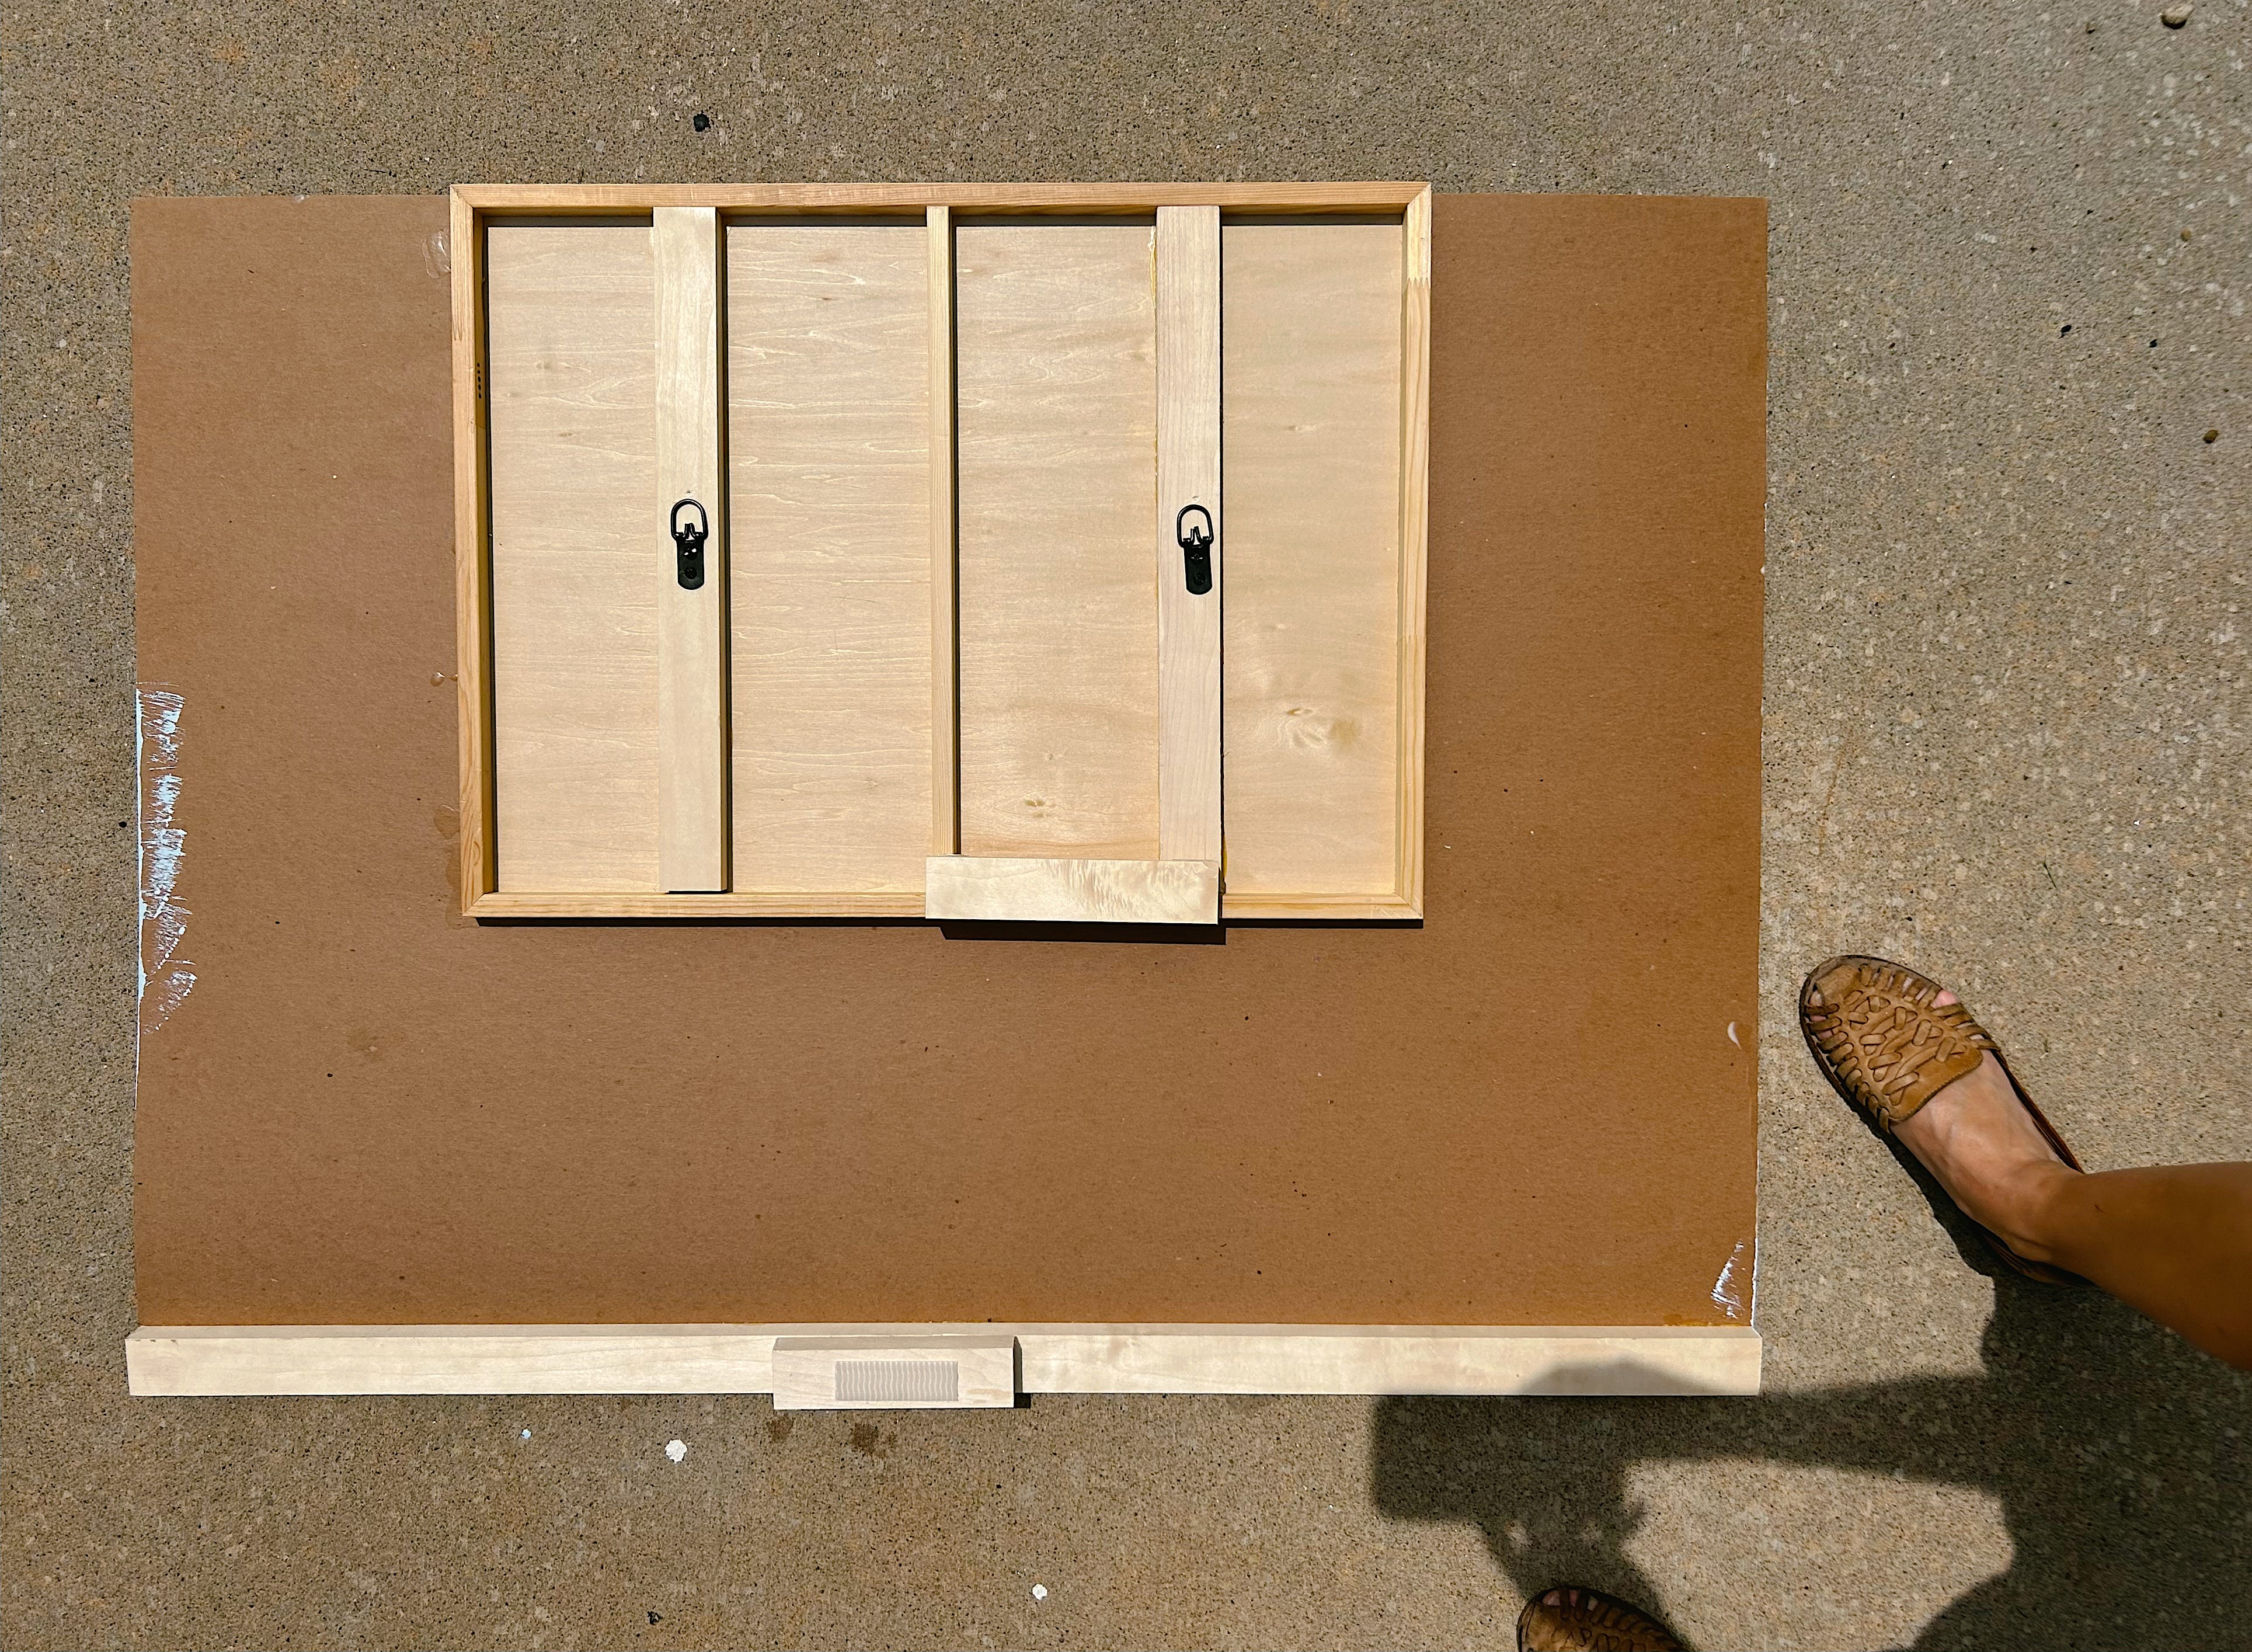
Last week I touched on my workspace and the various evolutions of it, which, thanks to the lovely summer weather we’ve been having, has shifted outside part time. So here’s a better look at how I rigged that up.
The board I mount everything I’m working on to is a $13 piece of chipboard. It was giant and cheap but flimsy, so I took an old wood panel and stuck it to the back with wood glue, added some hooks to hang it from an old Ikea bookcase and added another piece of wood to the bottom to keep it straight.
We added castors to the base of the bookcase so I can wheel it in and and out of the garage easy and the little shelves come in handy to store bits and pieces from works in progress.
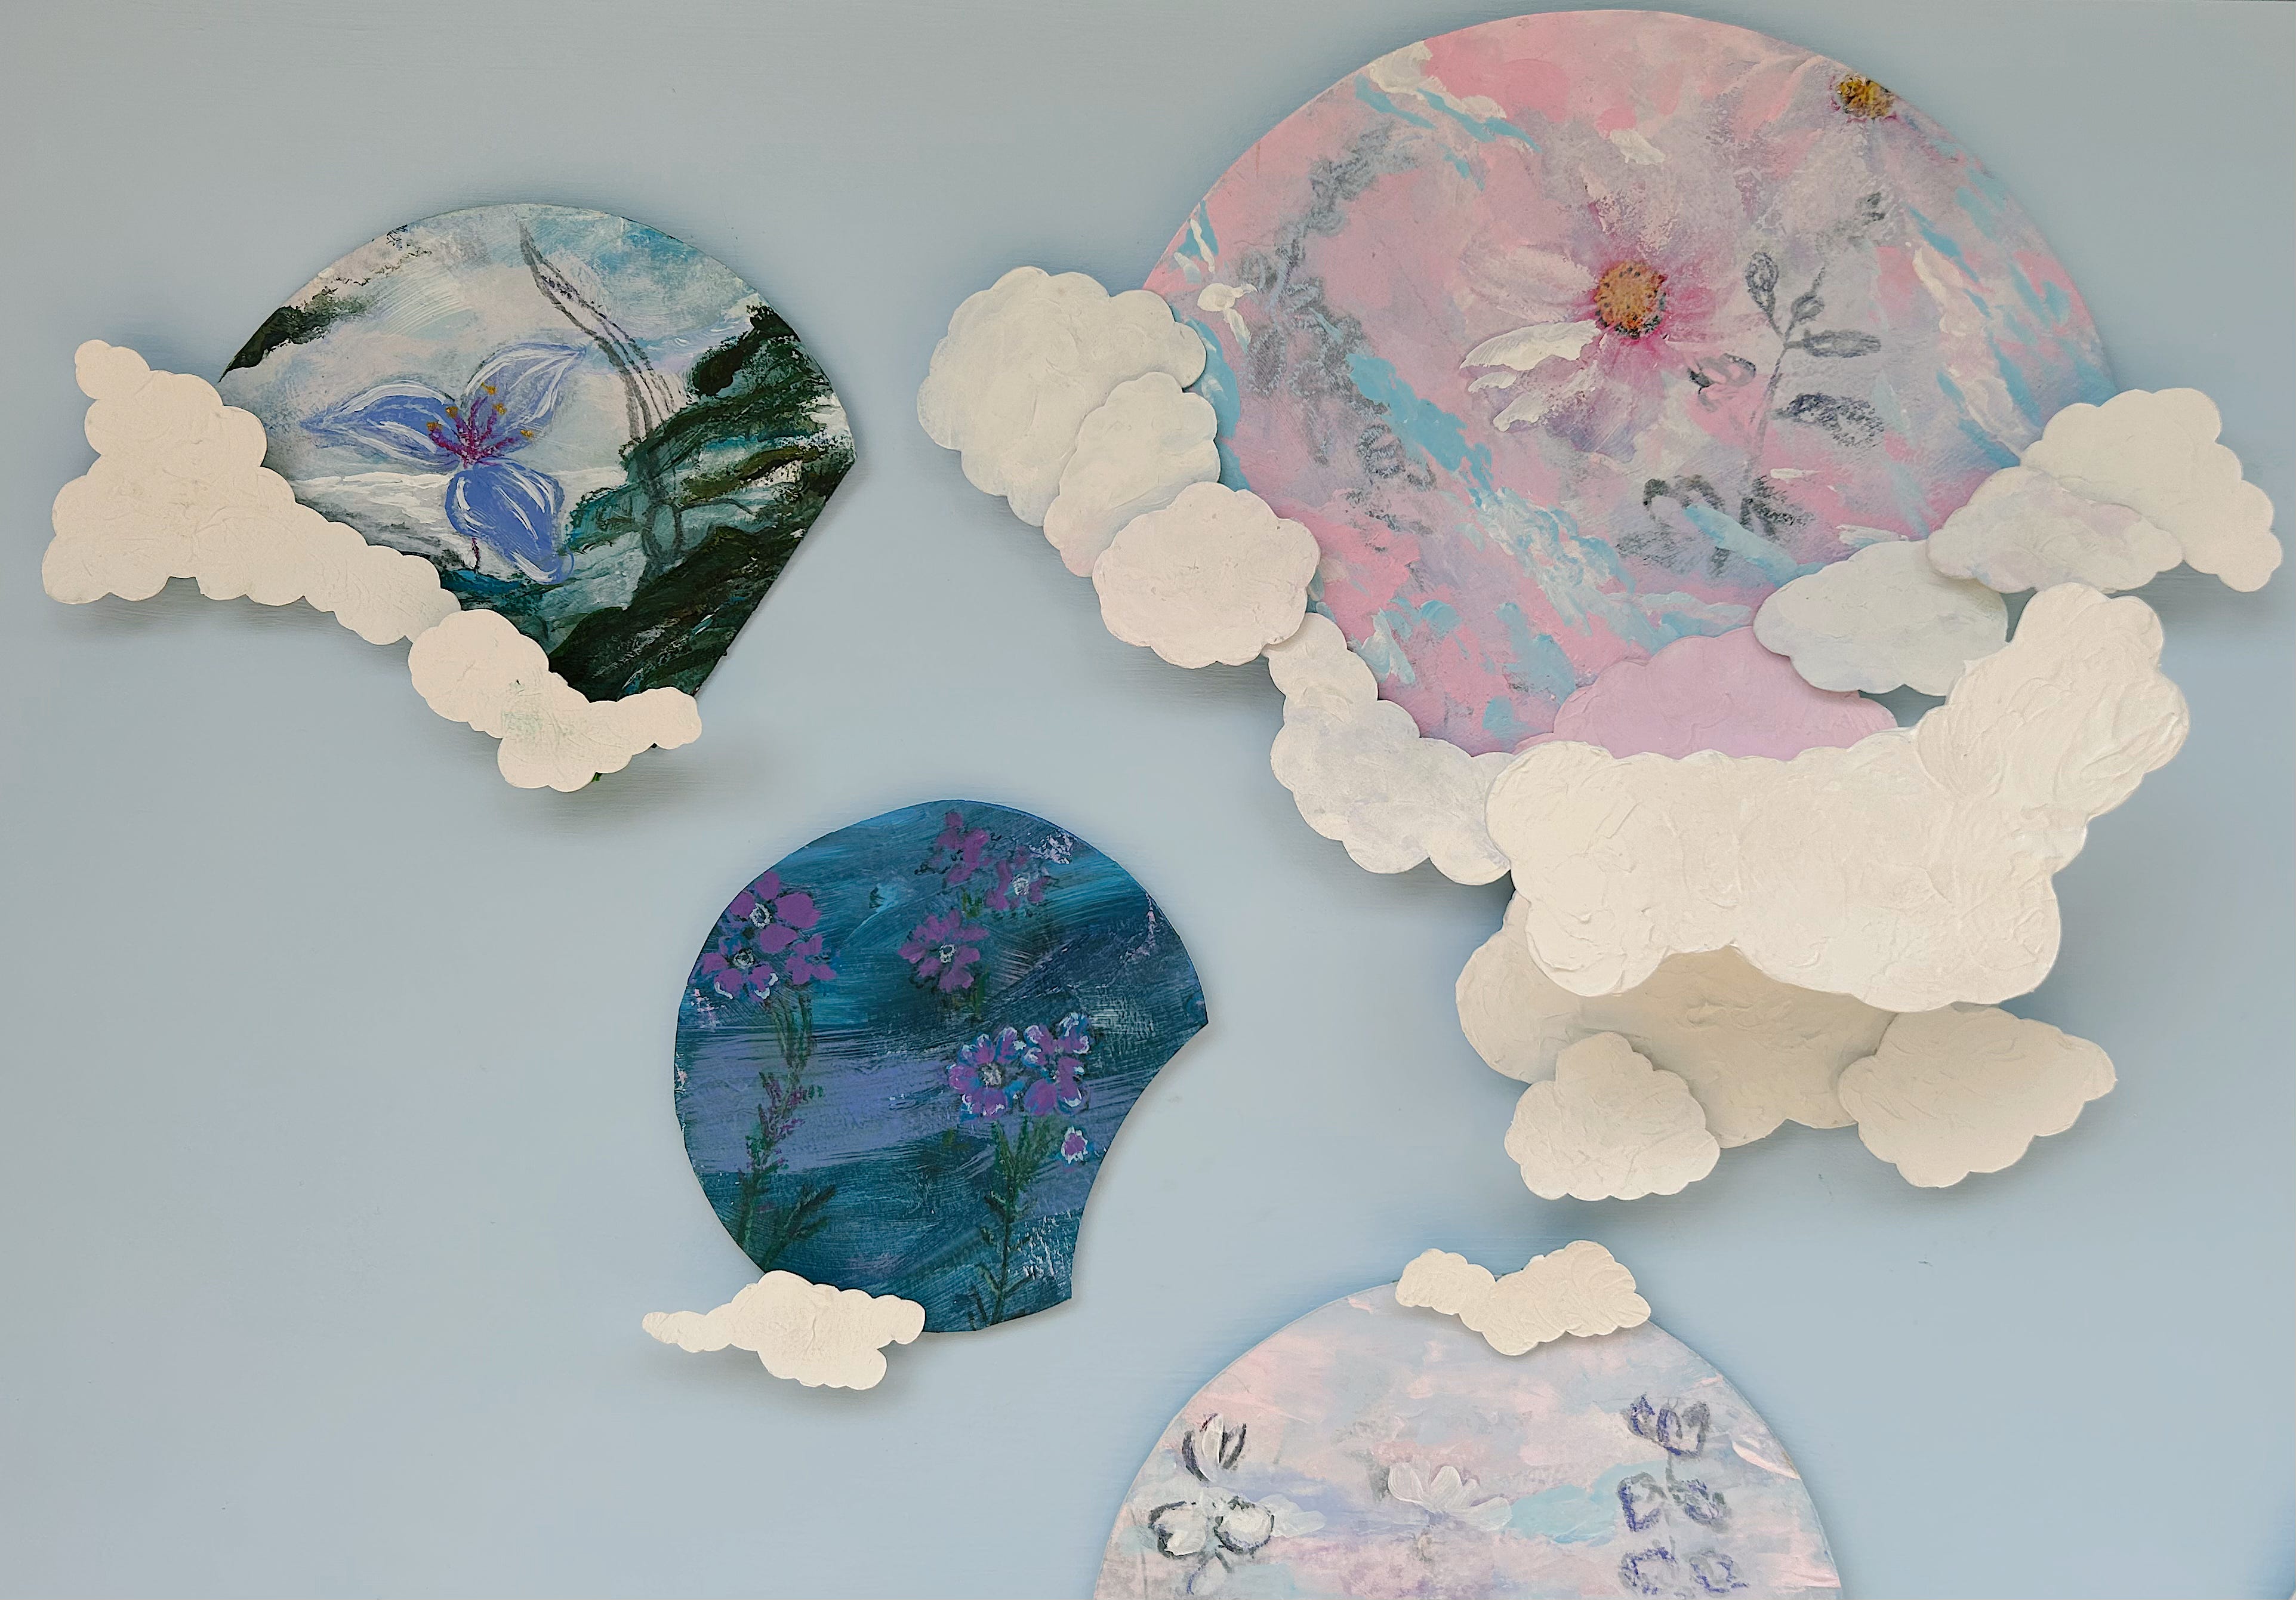
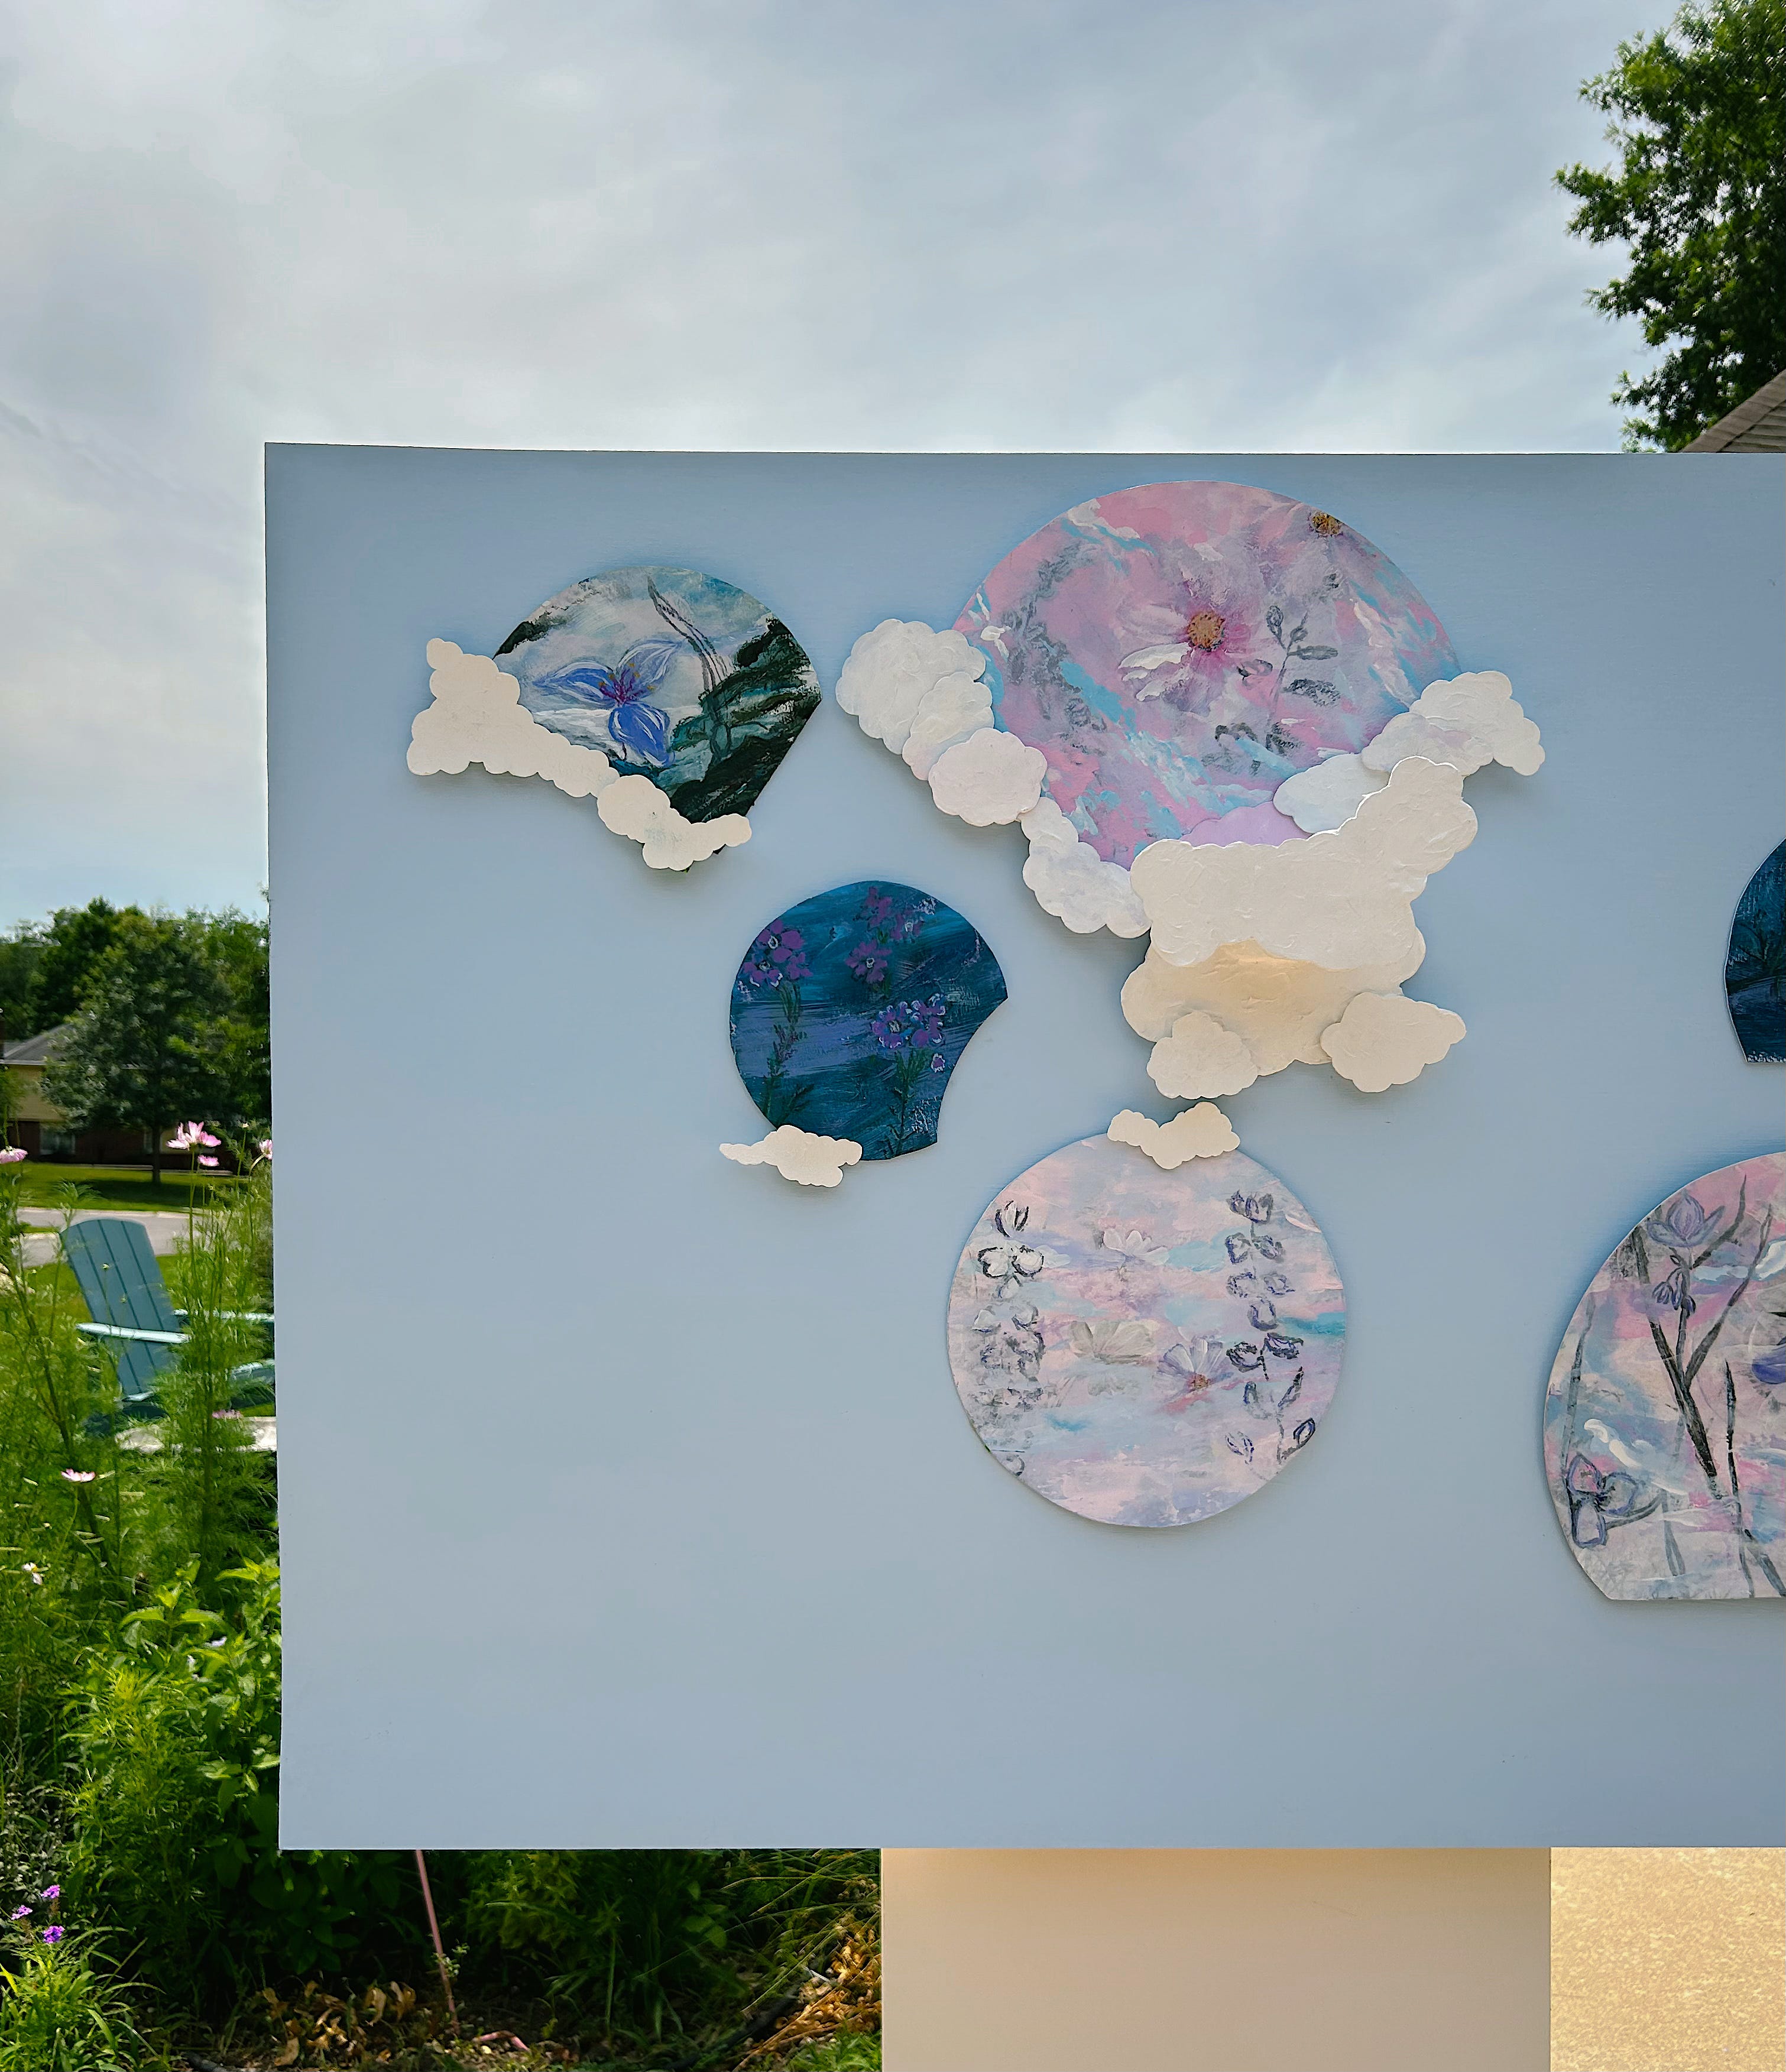
That pretty much covers it. I’m making slow but steady progress on new work in between lots of snuggles, reading with the kids and barefoot races in the yard… Last night it was between me, the kids and my two older brothers. My love for summer continues to grow… and last night was one to remember.
If you have any questions drop them in the comments. If you have any fun storage things I’d love to hear about it…
Now, if you are really wanting to get creative I suggest popping over to check out Whitney Leigh Morris. I’ve followed her for years because of her honesty, creativity and general outlook on the world. She’s the definition of clever when it comes to small space solutions that are also low impact and she’s literally been inspiring me for years.
Have a good week,
Bec
P.S. Next post will be focused on another native flower and hopefully some work centered around it. I’ll leave you with some partially painted dino’s till then, maybe my son will finish painting them this week too.
Bec- The cloud shelf looks great. But so does the pile of trunks as shelving. The color combination of it really speaks to me. I appreciate it!
What beautiful ideas with patina, character and heart! (And thank you for the generous words!)